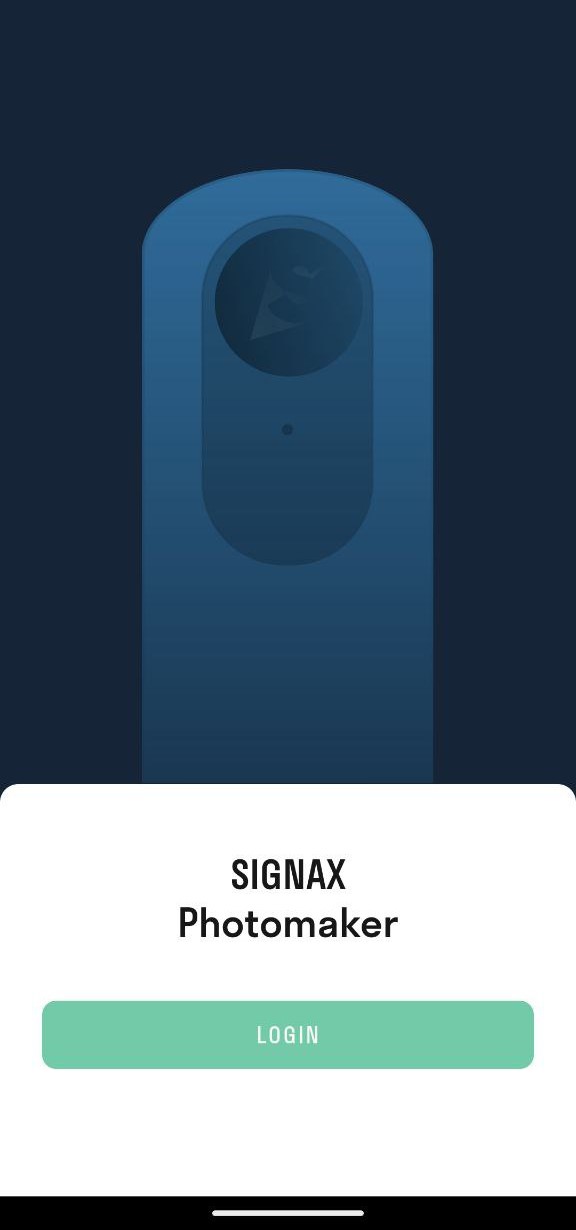
3.3.2. Mobile app "Photomaker"
The mobile application has been developed to work efficiently with Theta and Insta 360 cameras. It allows you to quickly upload photos based on specific points on plans, bypassing the step of downloading photos from the camera to your computer and manually uploading photos through the web service INSPECTION
We recommend using the application on the Android operating system.
Preparation
1. Install the application:
- Android: Download from Google Play
- iOS: Download from the App Store
2. Open the application SIGNAX Photomaker.
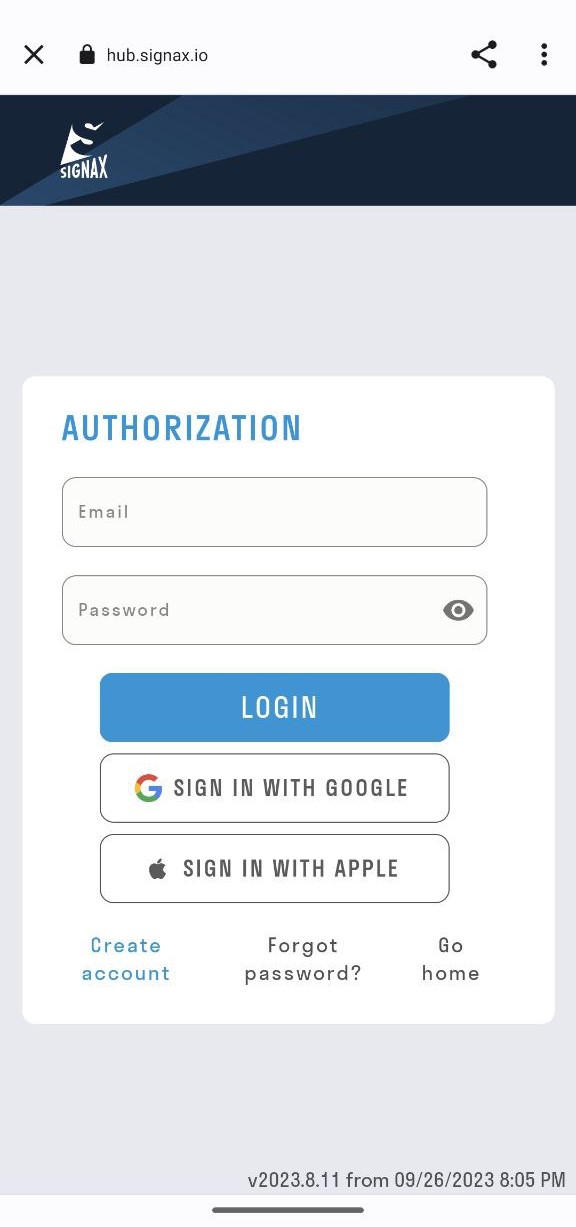
3. Log into your SIGNAX account (if you need to create an account read 2.1 Authorization on the SIGNAX.)
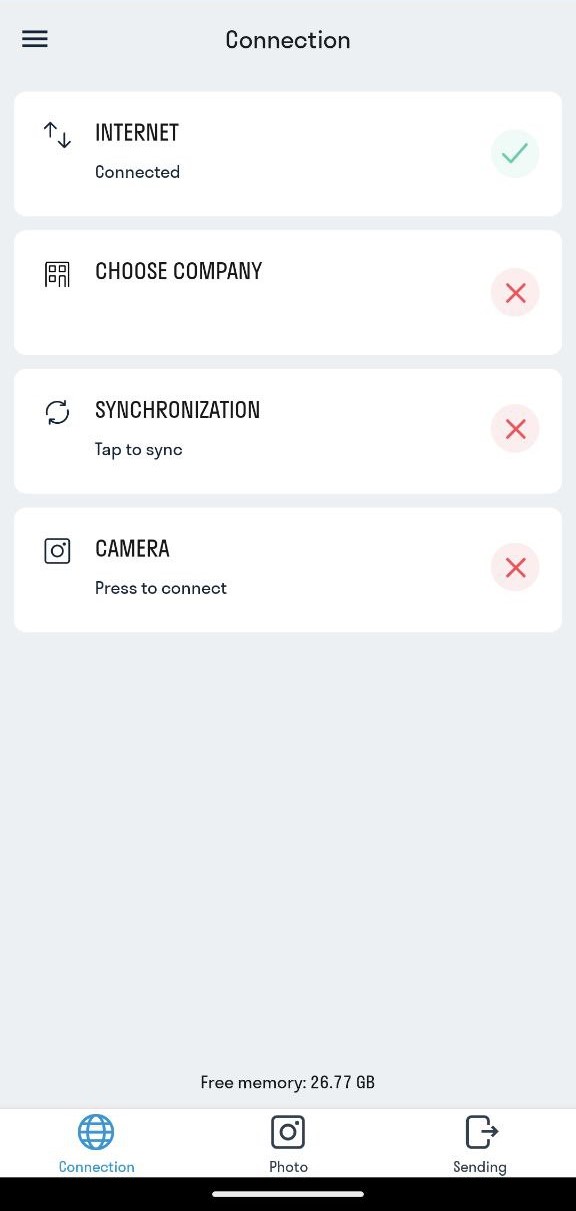
5. Perform synchronization.
Workflow
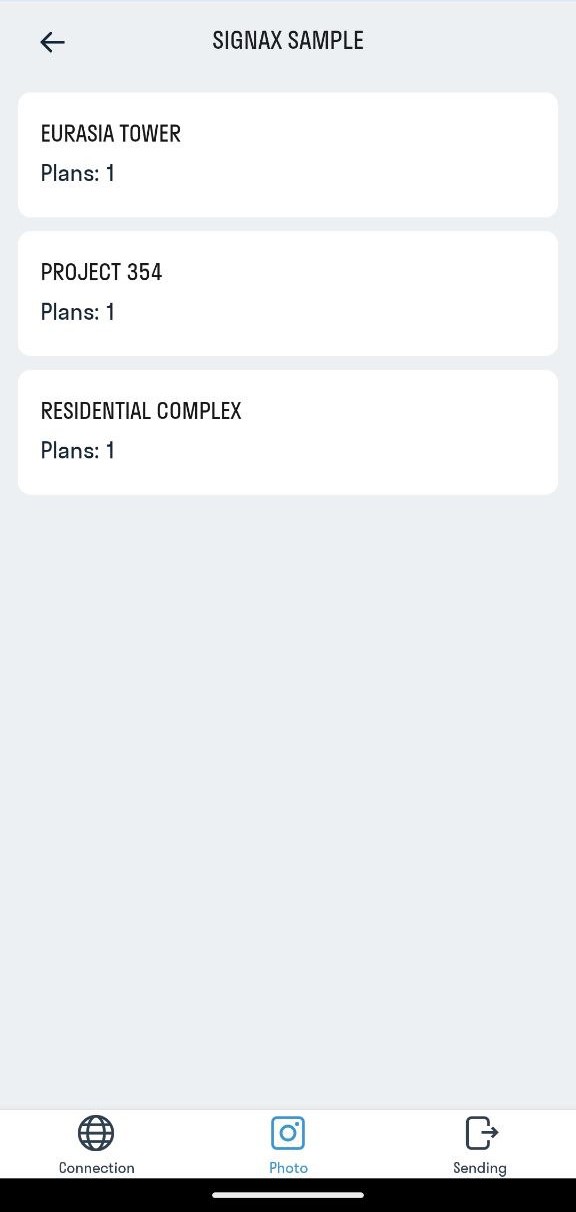
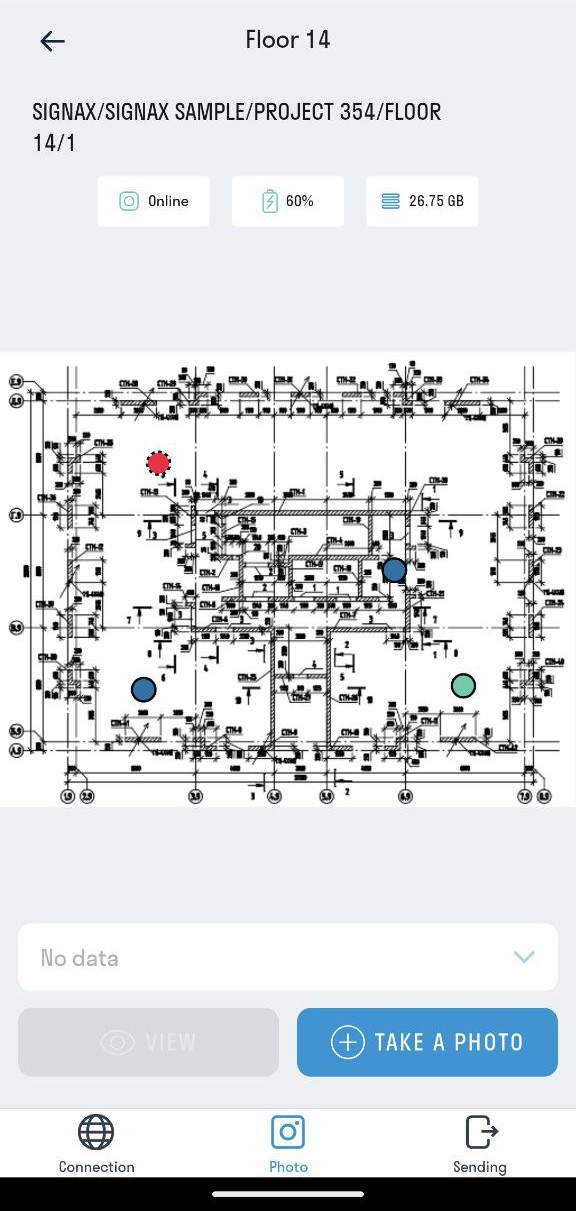
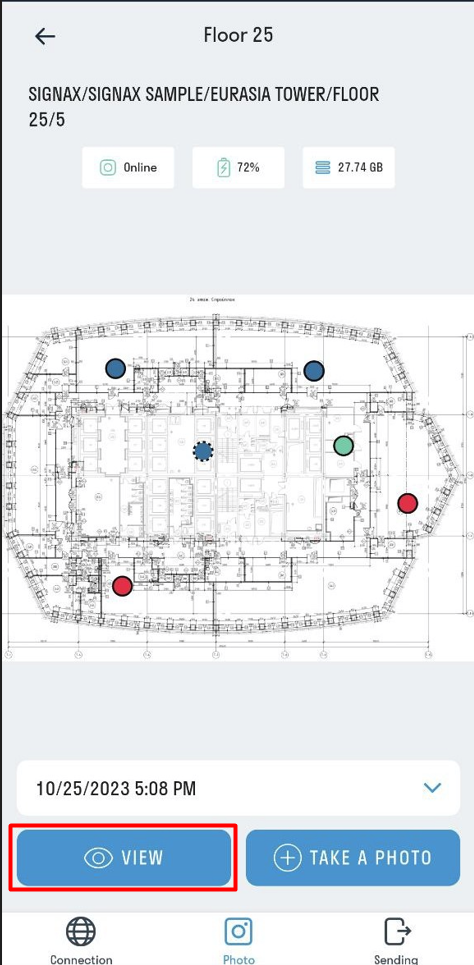
3. Once you have connected the camera - click the "Photo" button in the main menu and choose the Block and the Plan.
4. On the plan, choose the point and press "Take a photo."
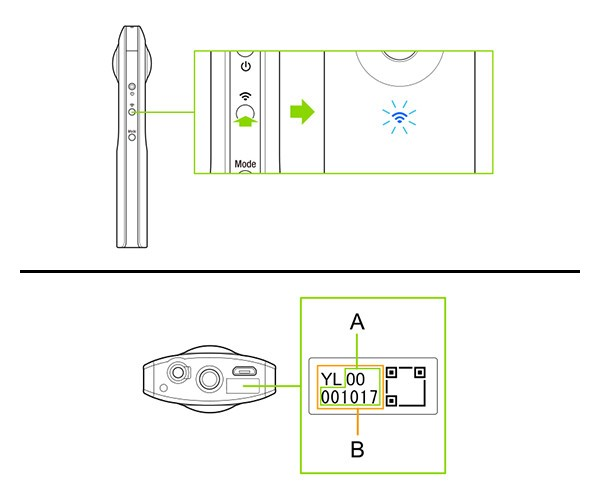
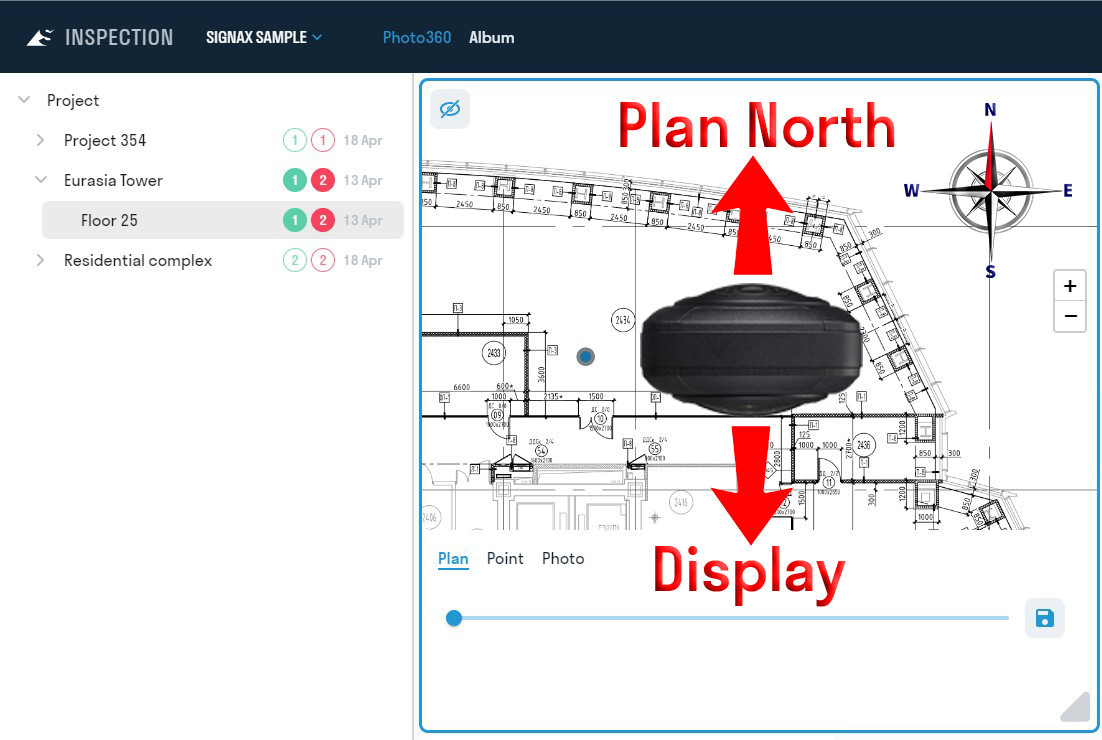
IMPORTANT! To avoid adjusting the direction of the photos, you should set up the camera as follows:
- The Theta Z1 camera's lens with the camera display on the side should face south on the plane (towards you).
- For the Insta360 X3 camera, the lens on the side with the camera display should be facing north on the plan (away from you).
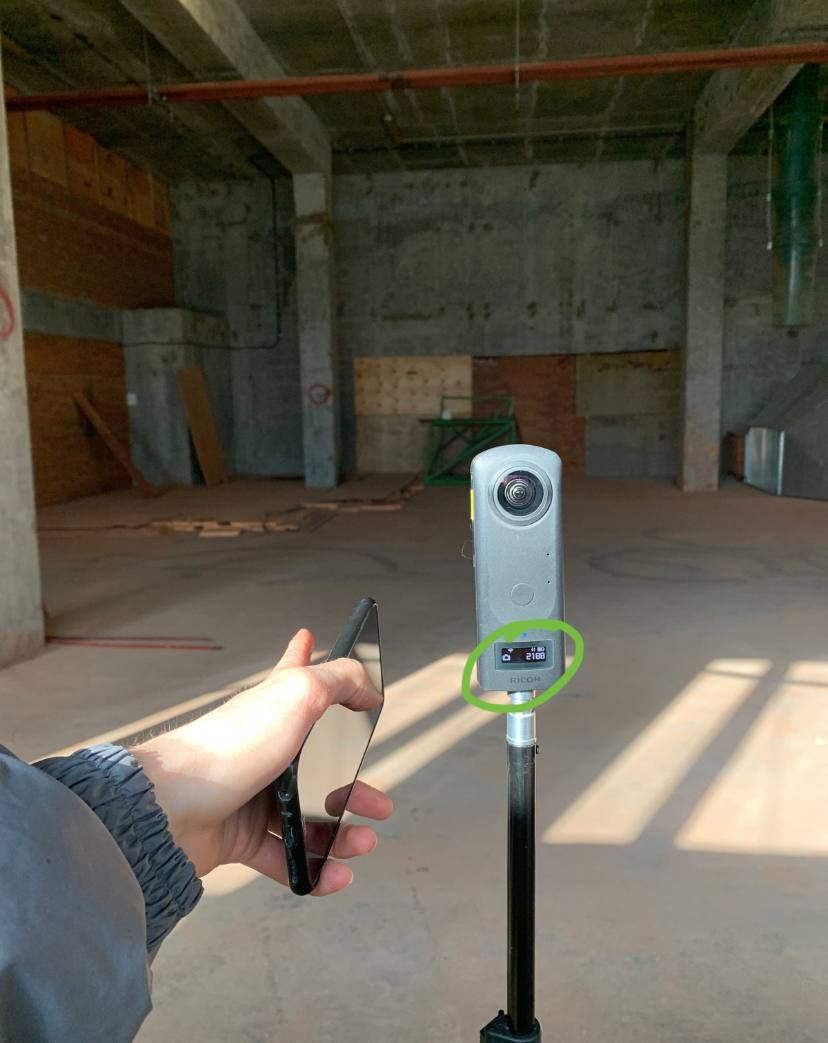
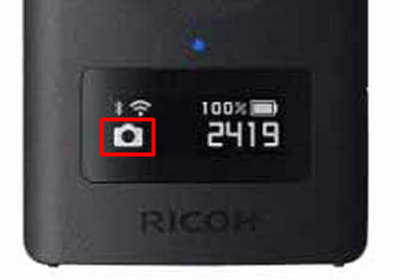
IMPORTANT! Ensure the camera is set to photo mode (not video).
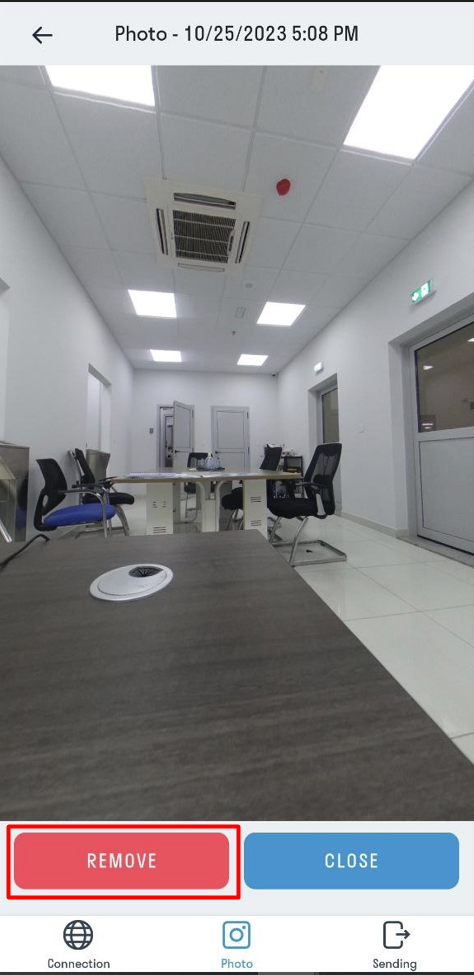
5. Click "VIEW" to review the photo taken.
6. If you need to delete the photo - click "Remove."
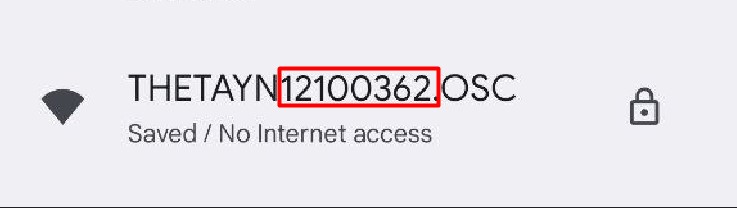
7. Disable the camera's Wi-Fi and connect to the office Wi-Fi or mobile network.
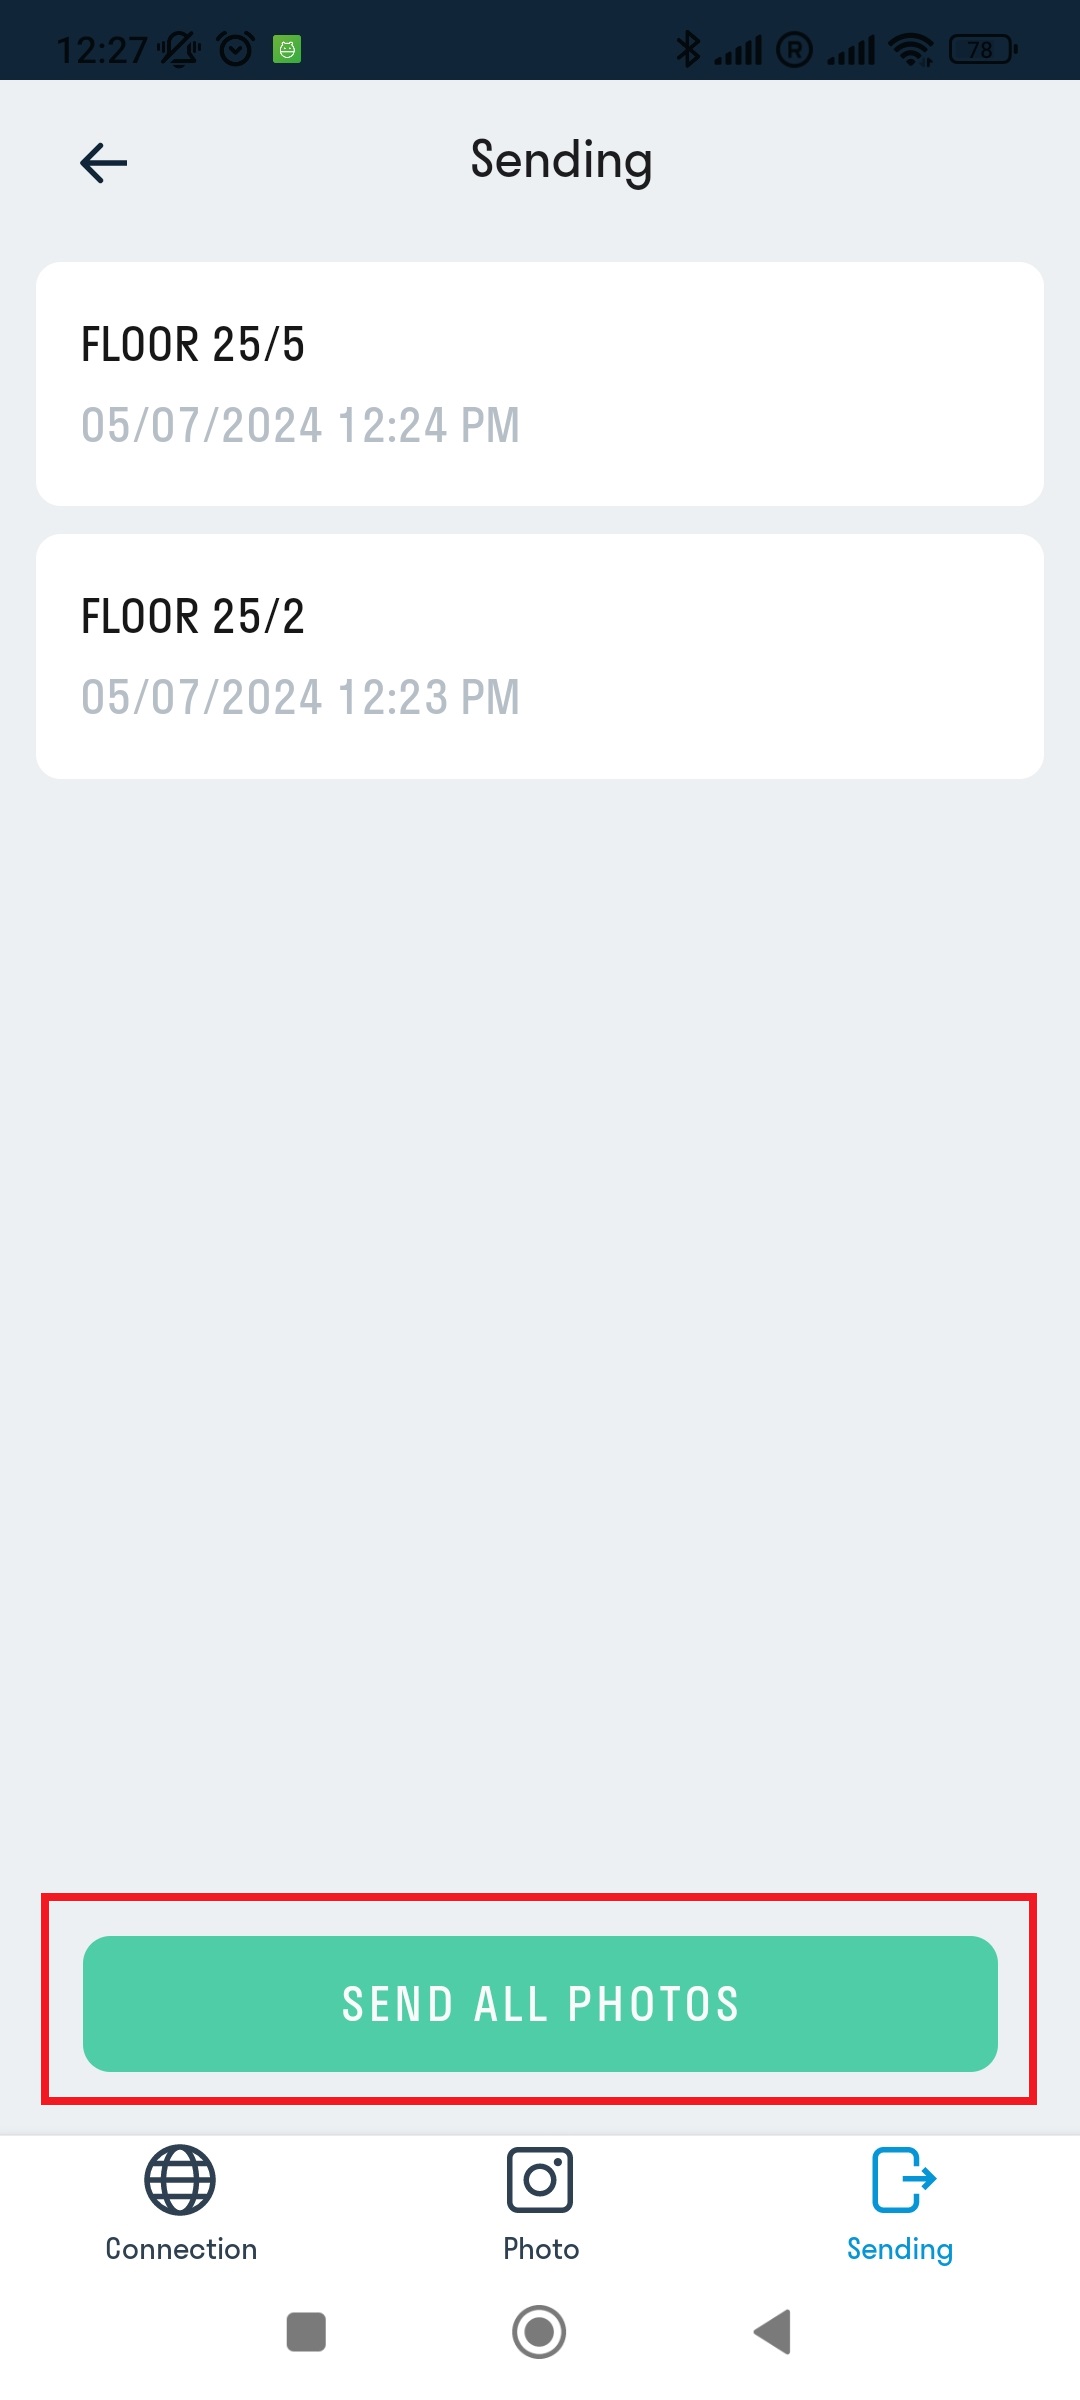
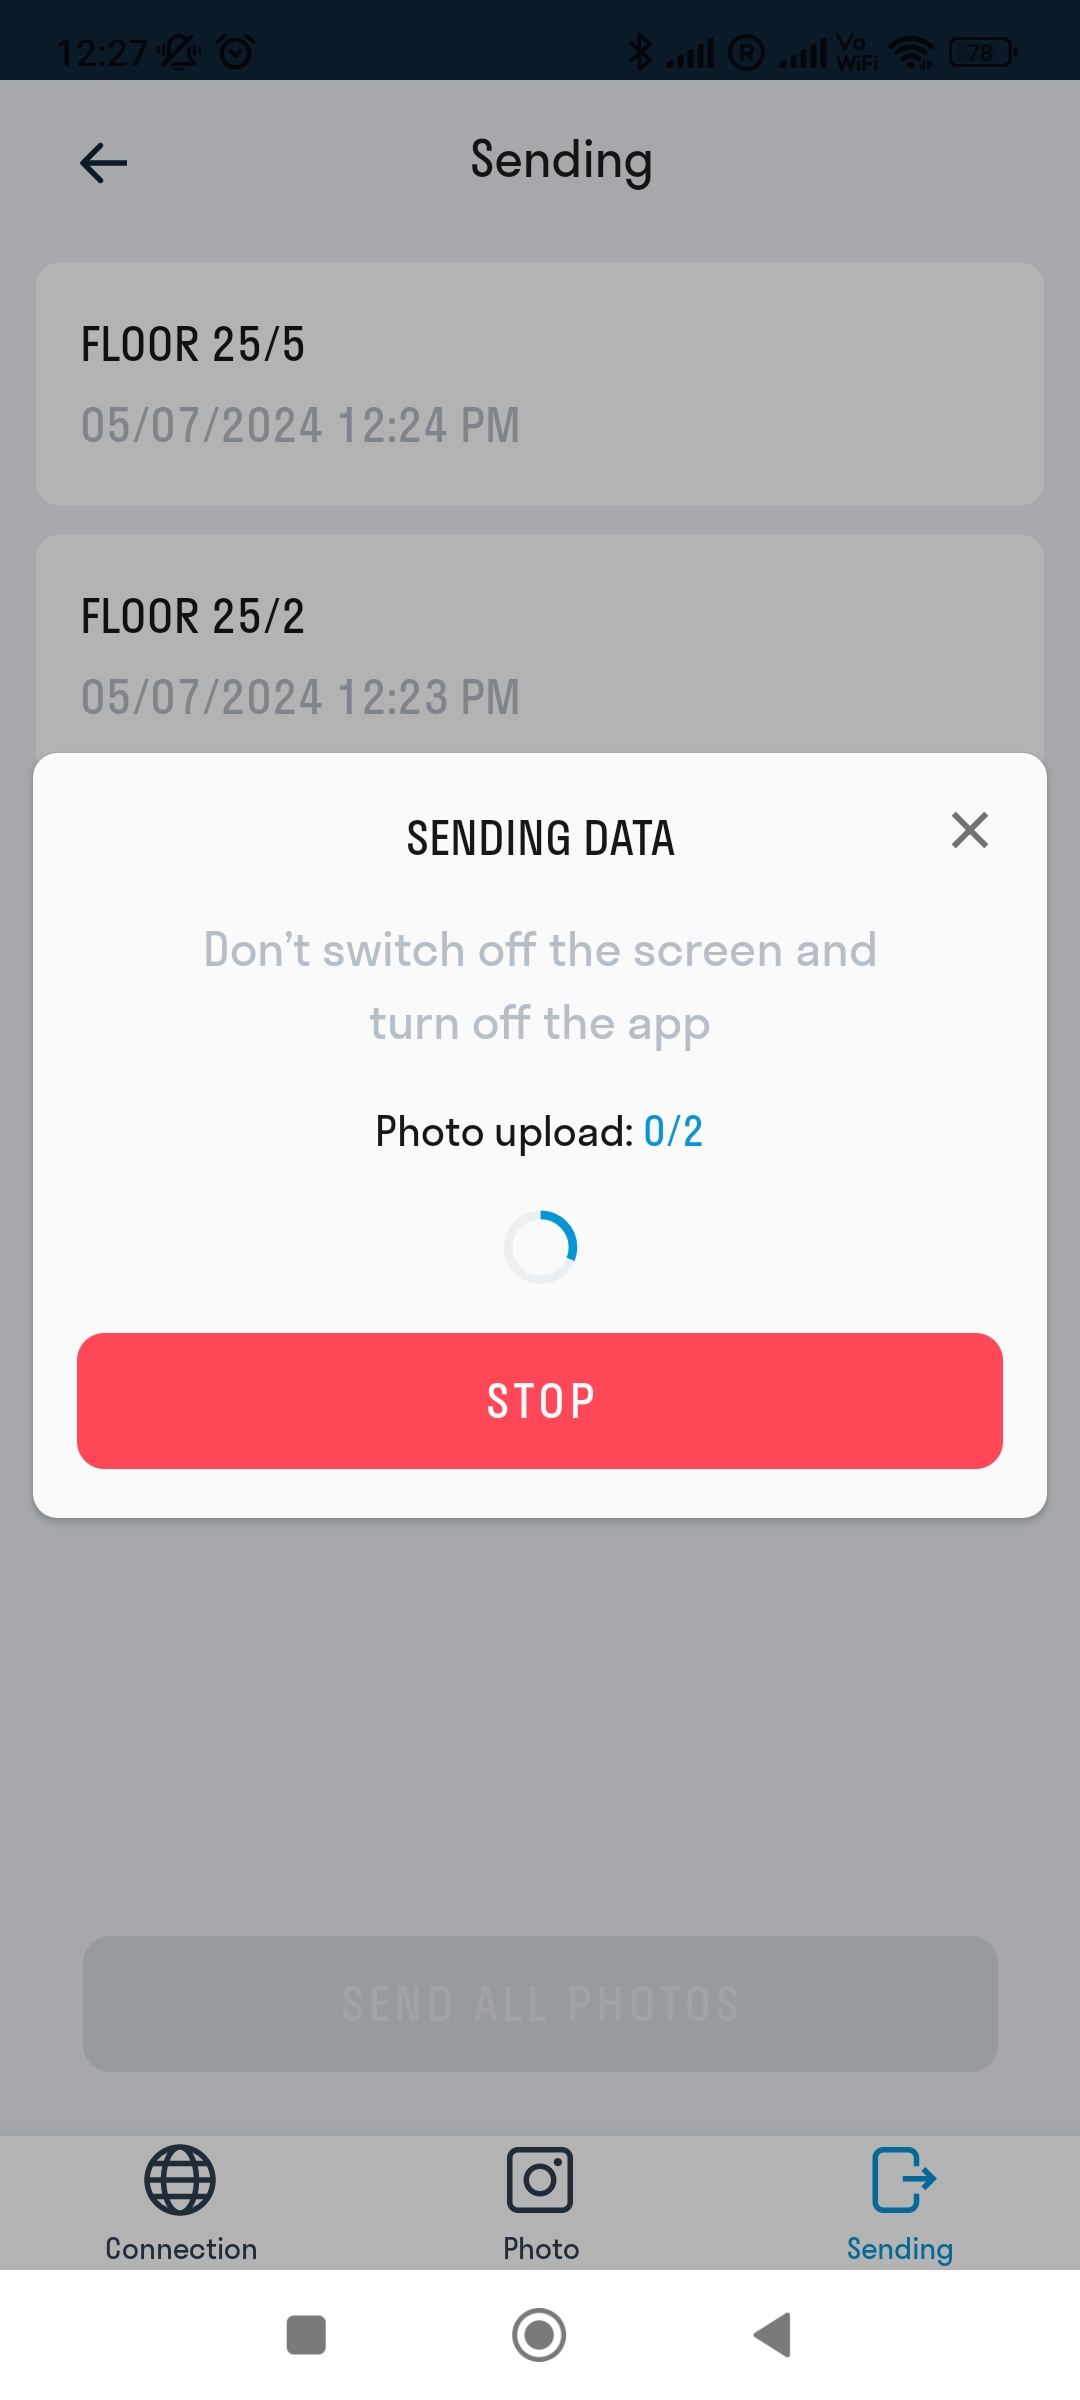
8. Go to the “Sending” section. To upload photos to the INSPECTION service, click “Send All Photos.” Wait for the upload process to complete.
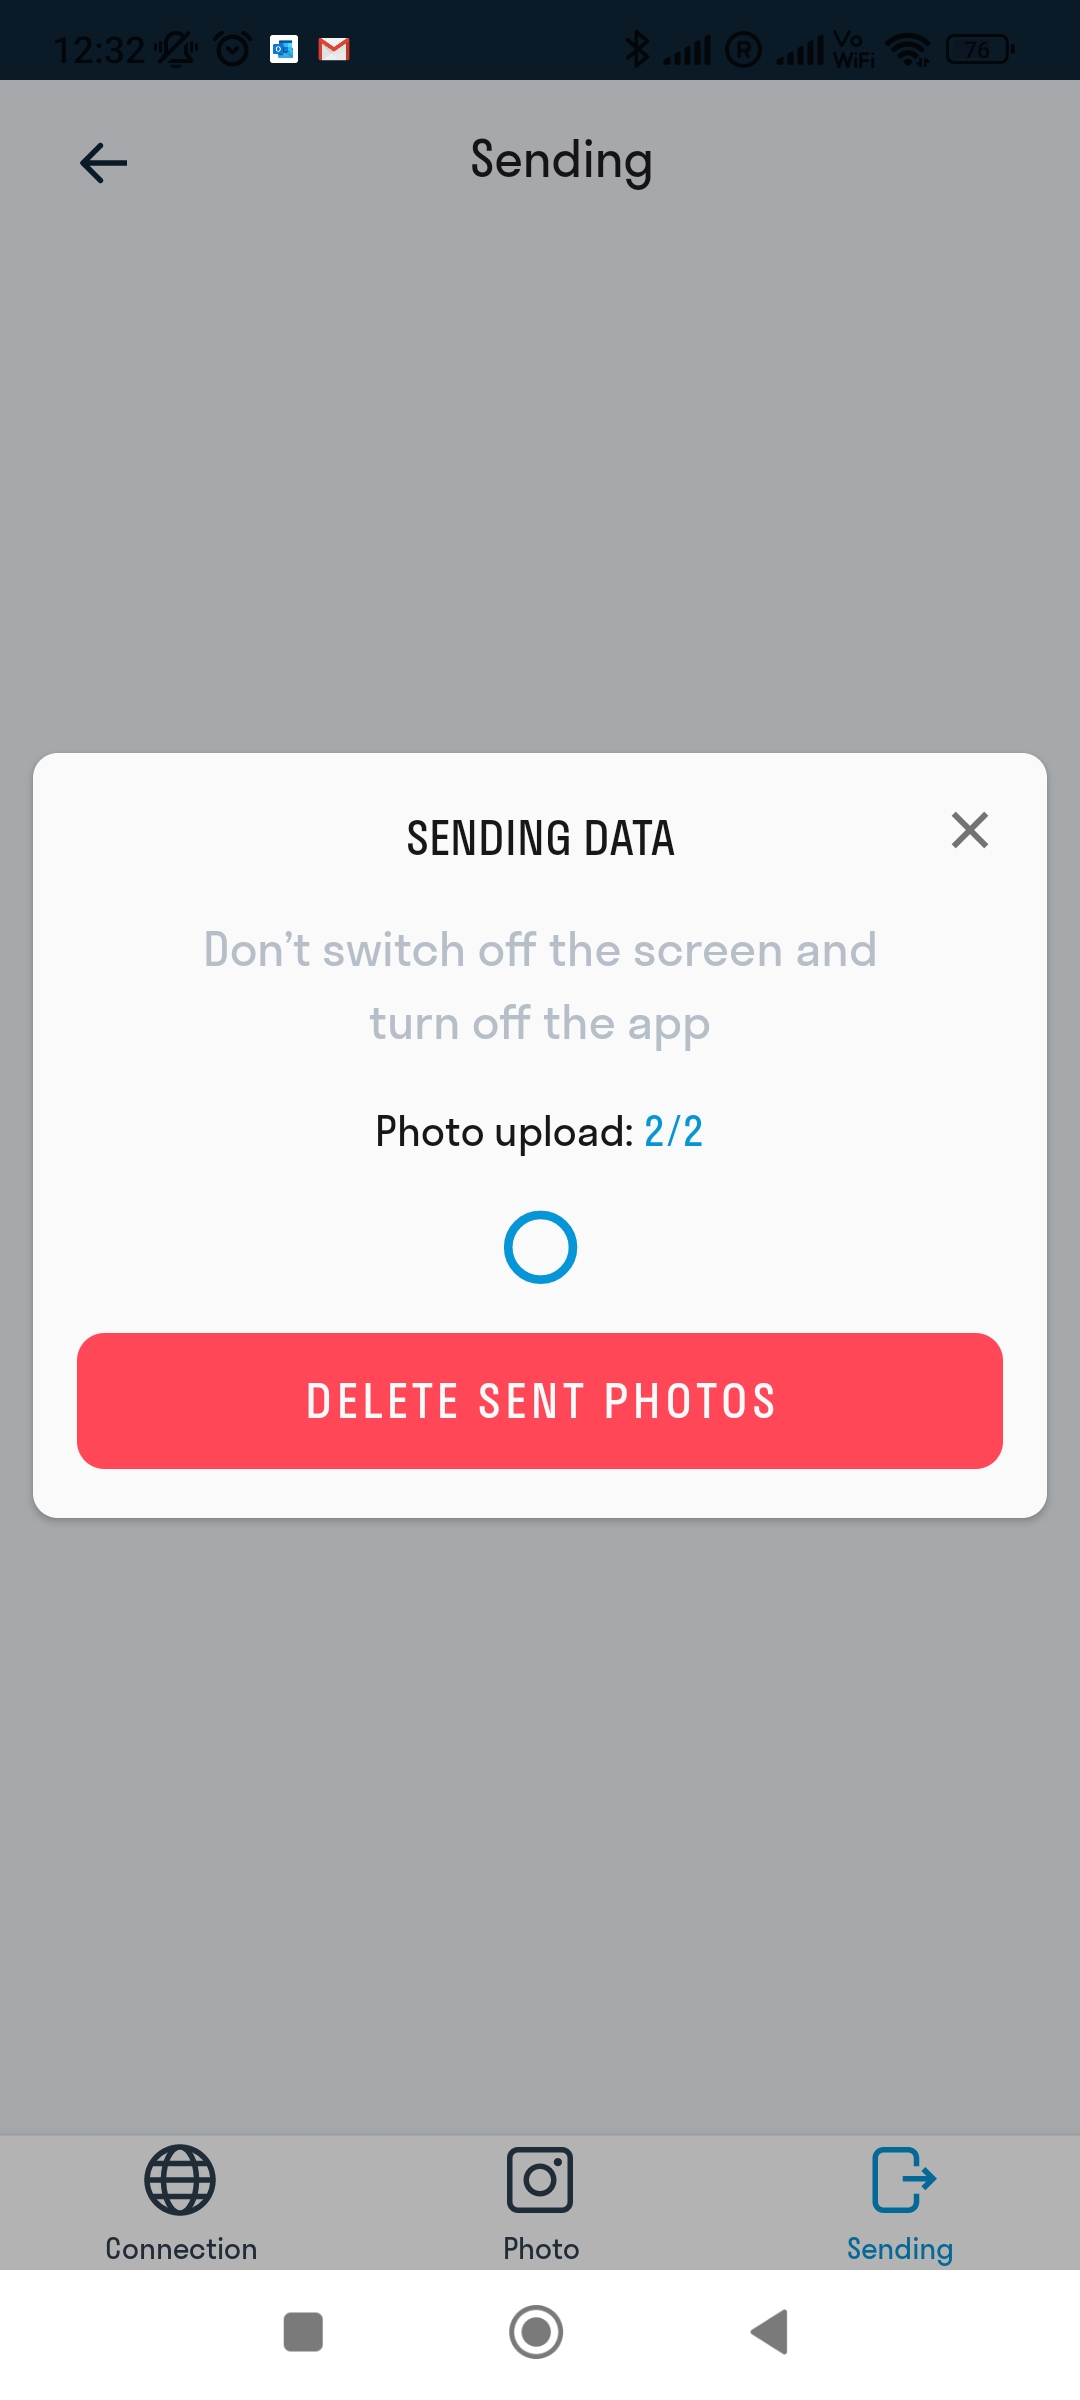
15. After sending the data, you can delete the photos from your smartphone’s memory by clicking “Delete Sent Photos.”
No Comments