2.1.1. User
Account Creation
A user can create an account by registering independently in the SIGNAX system or by invitation from an Administrator.
Invitation by Administrator
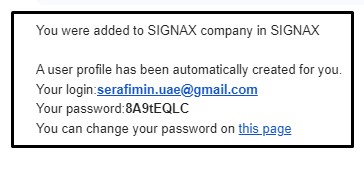
If the user has not previously registered in the SIGNAX system, an account will be automatically created for the user after the Administrator invites them to the Company.
An email with the login and a generated password will be sent to the user's specified email address. The user can change the password on the "PROFILE" tab in the HUB.
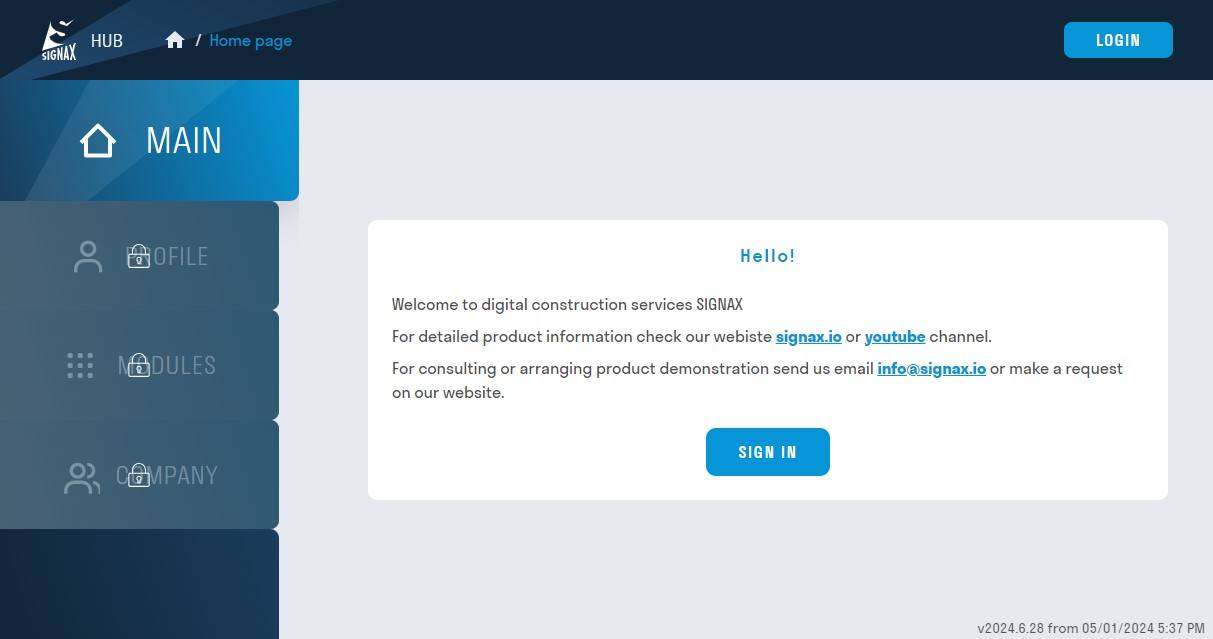
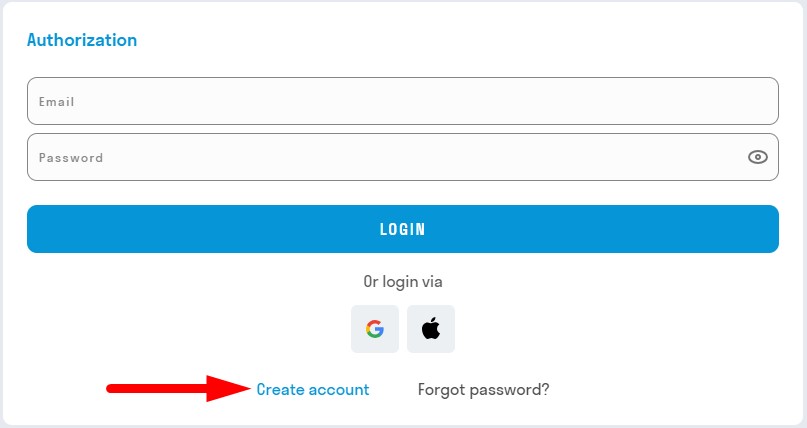
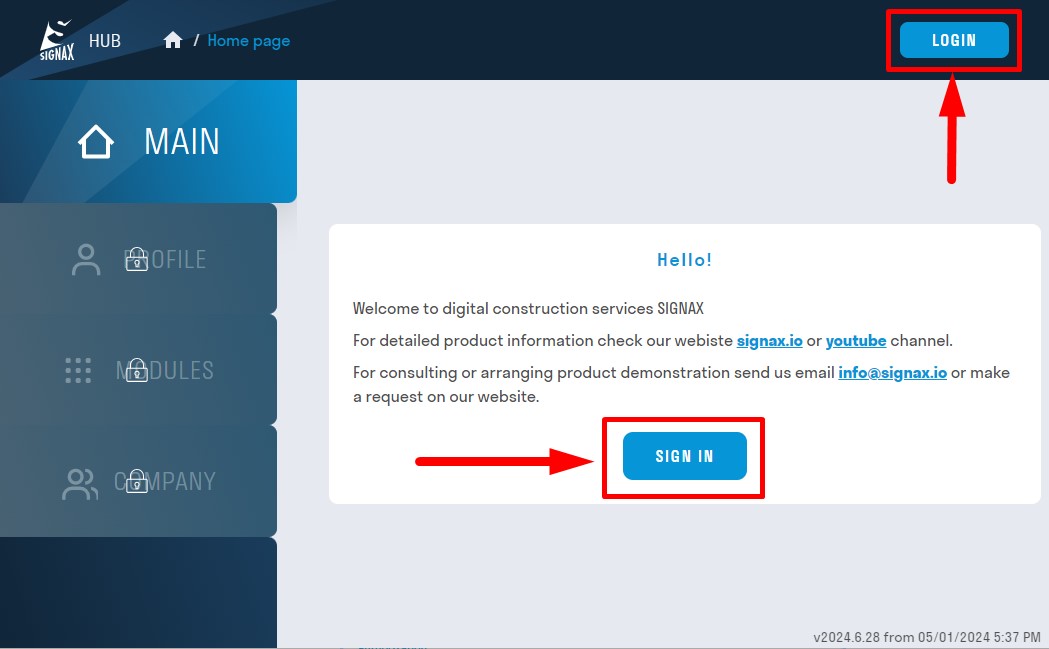
1. Go to hub.signax.io and click on "SIGN IN."
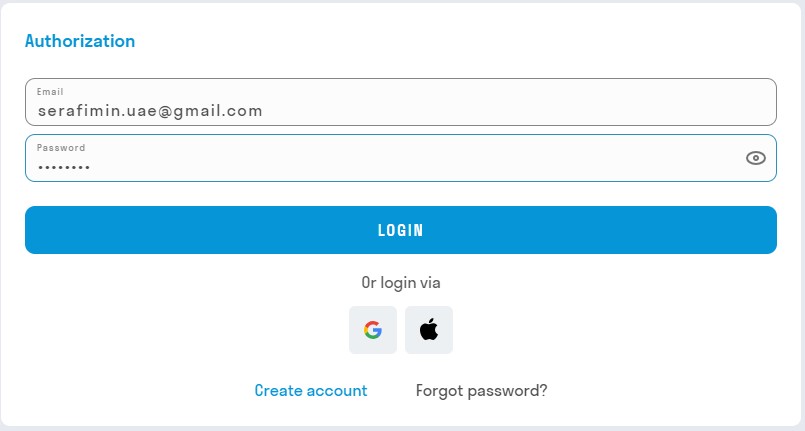
2. Enter your login and password from the received email on the opened authentication page.
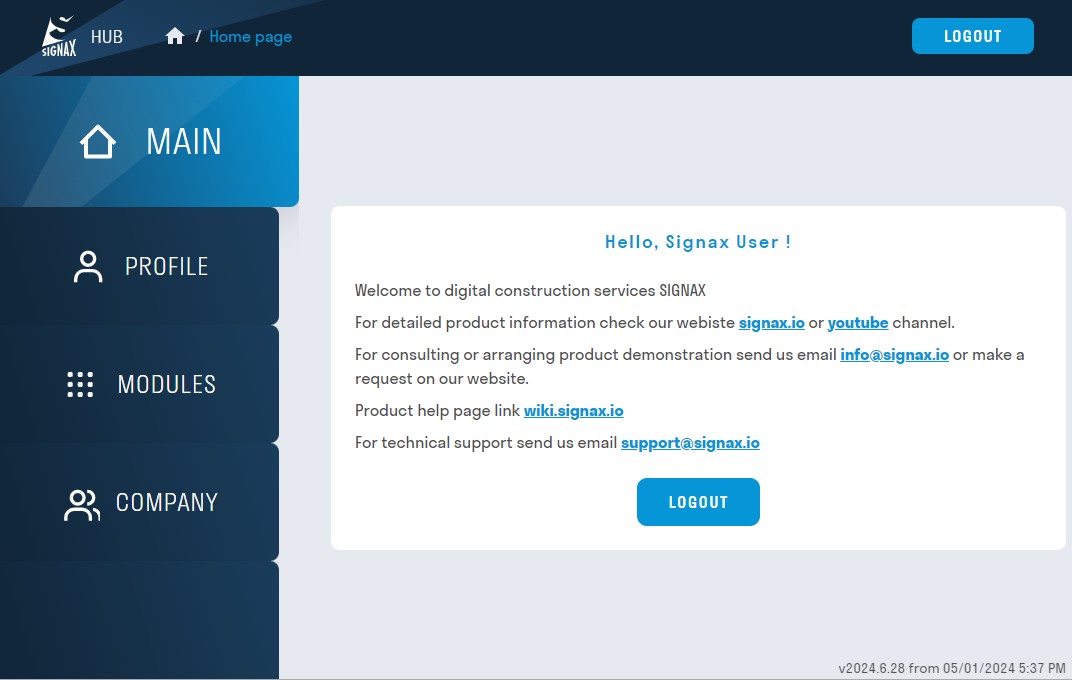
3. You are logged in.
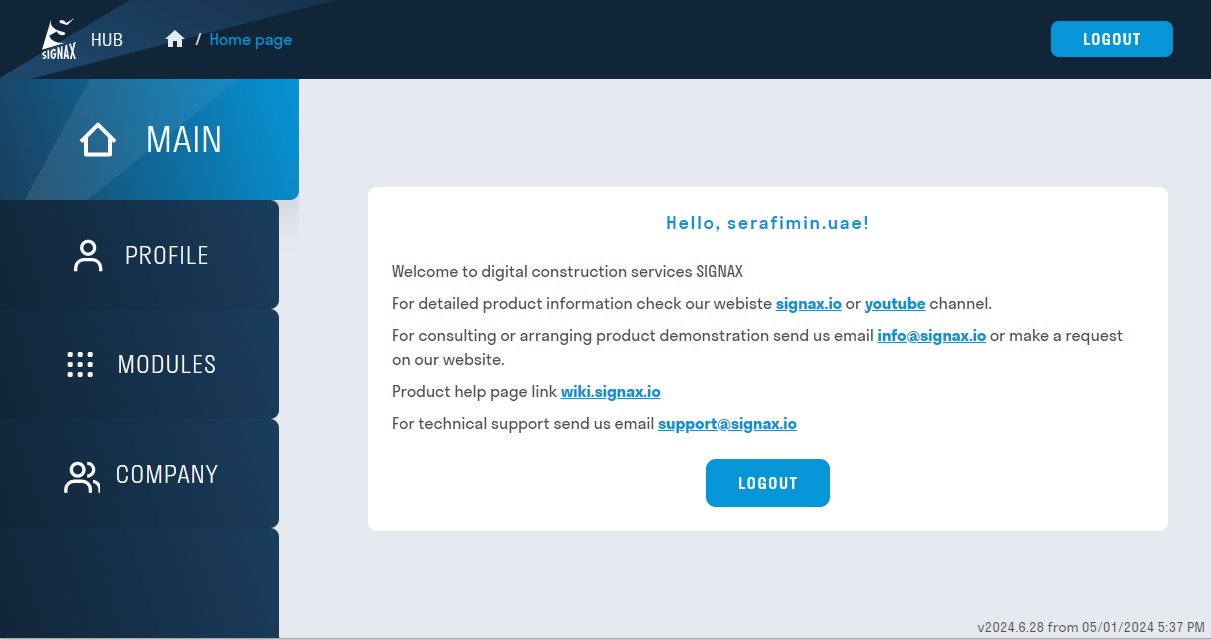
In the PROFILE section, you can fill in your information, change your password, and link your account with Google or Apple.
Self-registration
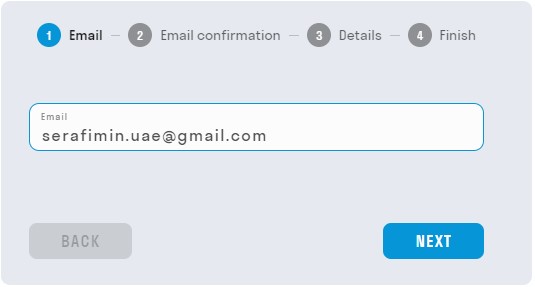
1. For self-registration in the SIGNAX service, click "Create an account" on the authentication page or follow the link.
2. Enter your email address and click "Next".
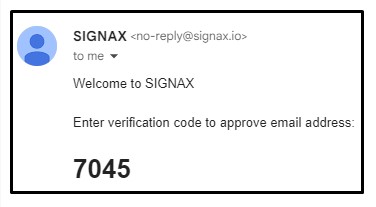
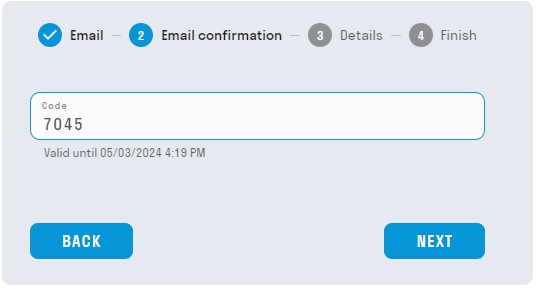
3. Within a few minutes, you will receive an email with a confirmation code to enter in the "Code" field.
4. Create a password over 8 characters, containing at least one uppercase letter and one digit. If necessary, you can fill in your full name.
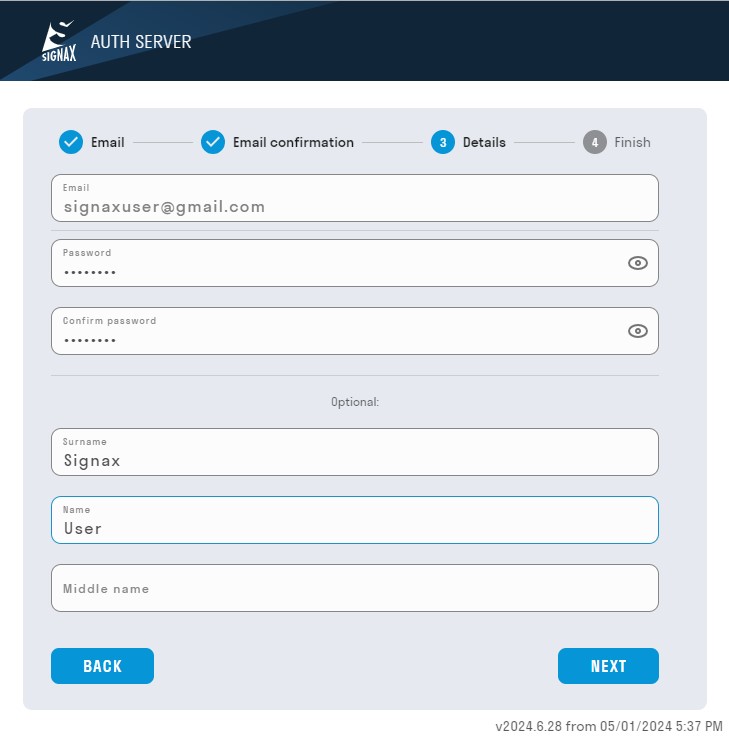
5. Complete the registration.
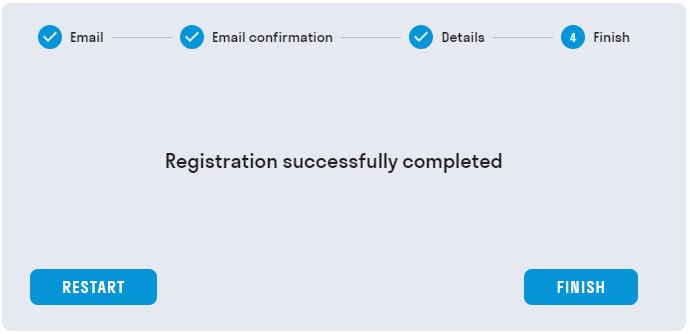
6. After registration, you will be redirected to the main page https://hub.signax.io/. Click on "SIGN IN" and enter your registration details.
7. You are in the personal account.
8. Request your Administrator to assign you a License.
In the PROFILE section, you can fill in your information, change your password, and link your account to Google or Apple authentication.
Profile
The PROFILE section contains information about your account, which you can edit.
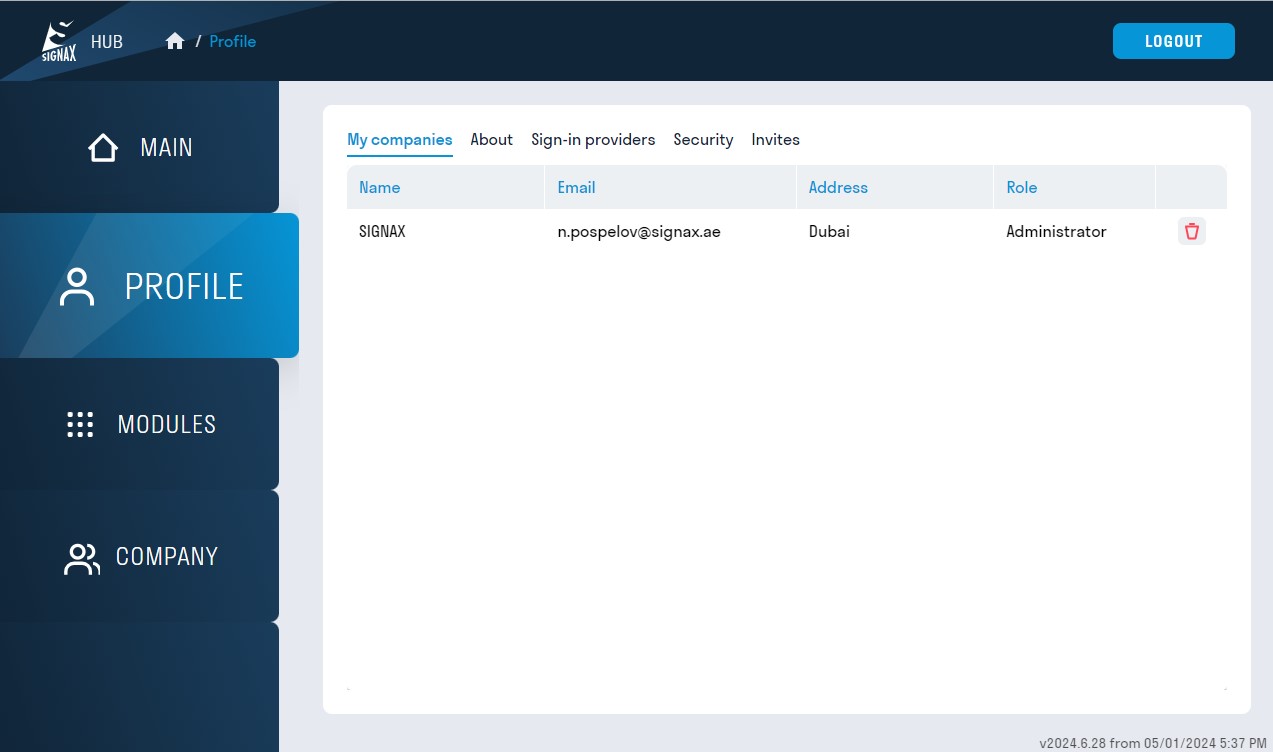
My Companies
You can view the companies you belong to and your access rights in these companies.
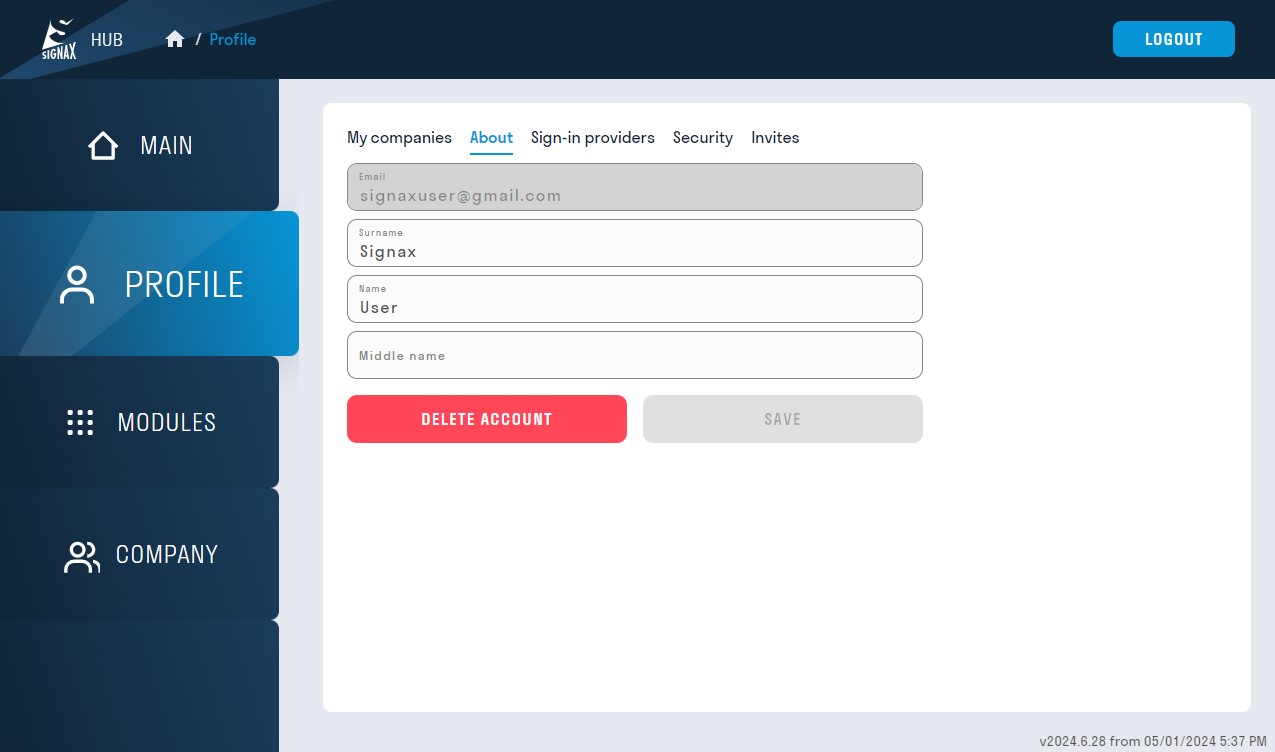
About
You can change your account information. To do this, enter new data and click "Save."
Sign-in provides
You can link your account with Google or Apple.

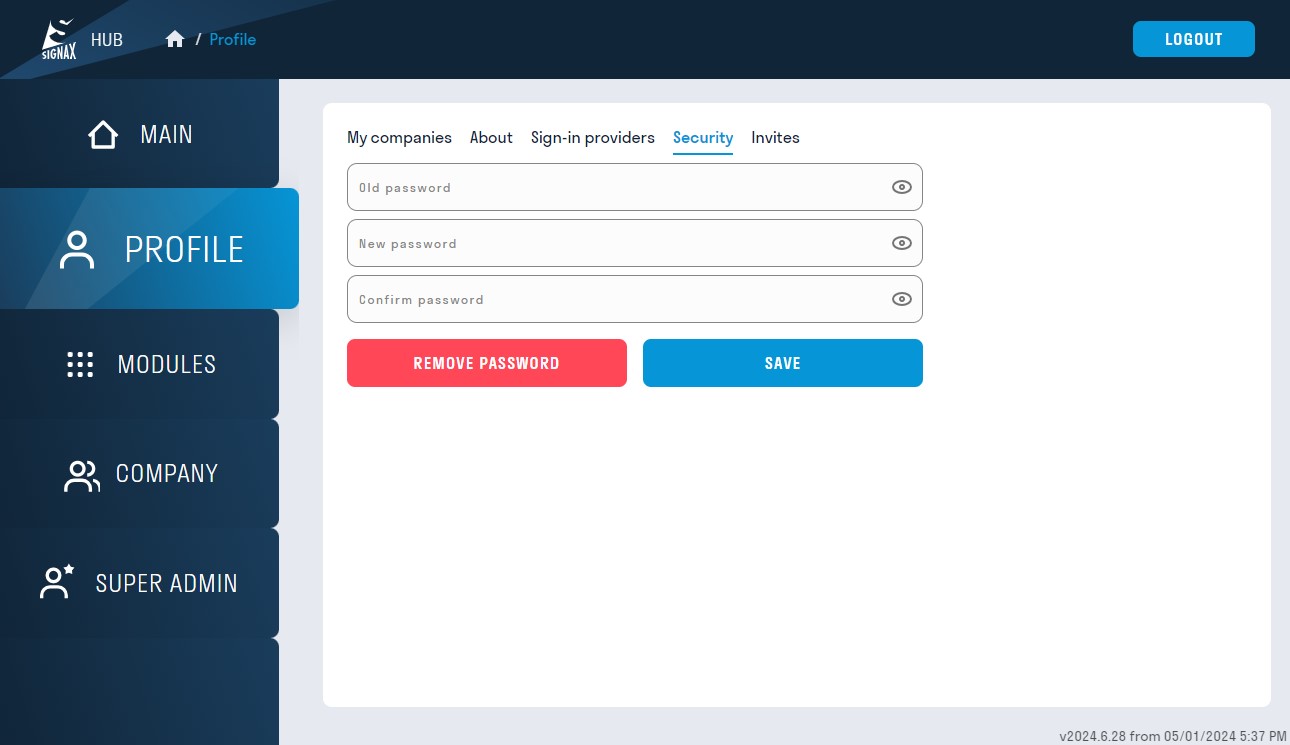
Security
You can change your password. To do this, enter your old password and the new one. Then click "Save".
Invites
You can see active invitations.

No Comments