< TOOLS FOR NAVIS. Projects | TOOLS FOR NAVIS. Creating a PN >
The tool allows you to add comments to the
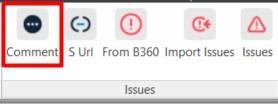
1. Select the elements and click on the SIGNAX PRO tab in the Remarks panel ➤ Comment
2. Enter the comment text and click “OK”.
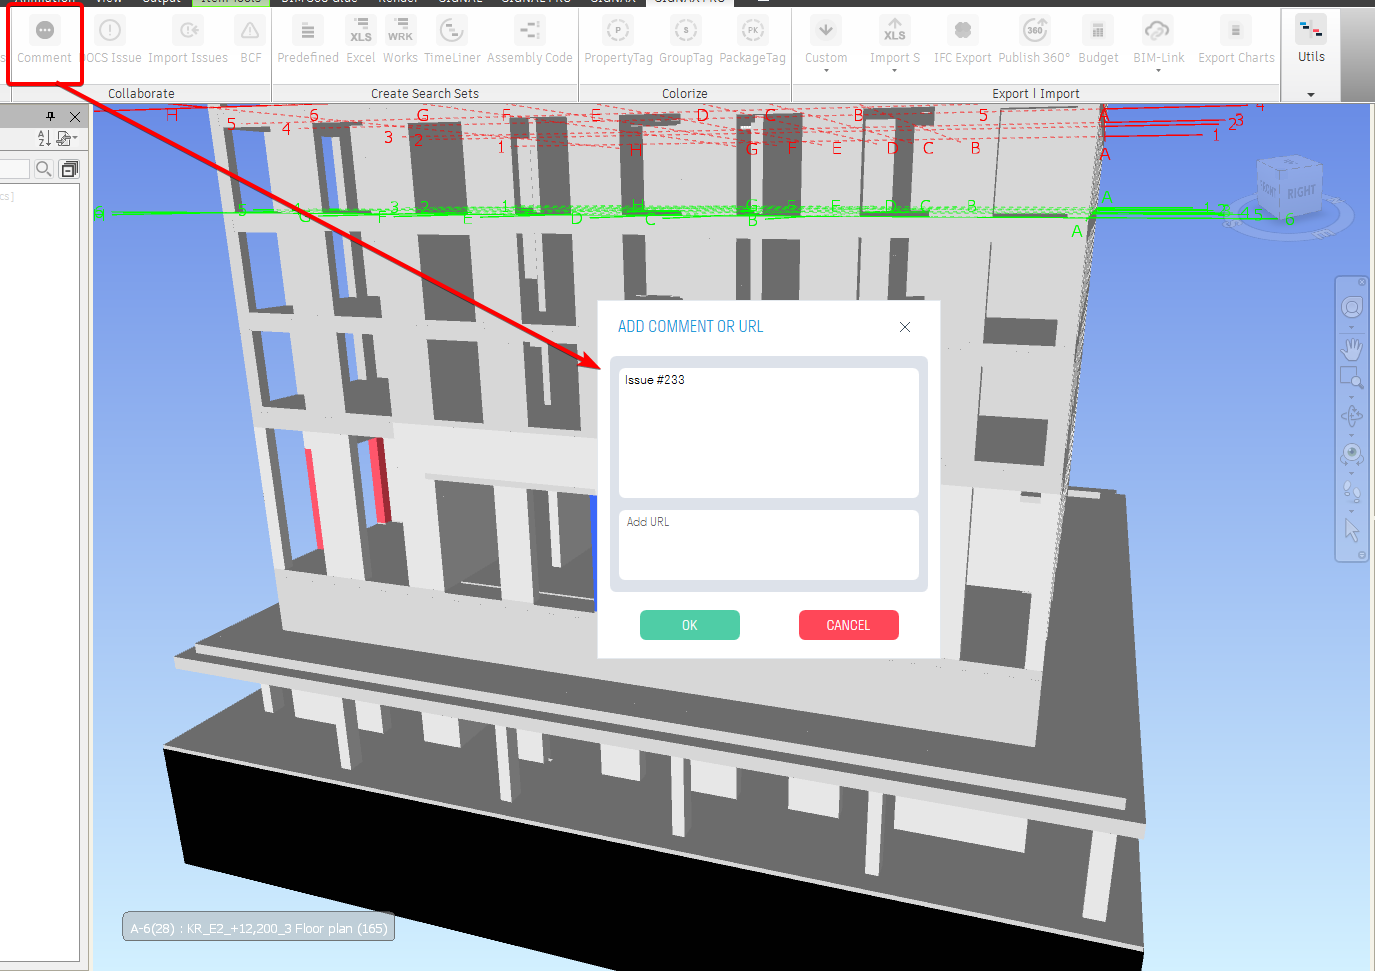
3. After adding a comment, the following will happen:

- The “Comment” properties with the comment value and “IssueColor” with the comment color are added to the selected element in the SIGNAX tab.
- The element will be colored in the color specified for comments in the “Coloring Pages” settings. Orange by default.
- The “Comments” search sets with the comment value and “IssueColor” with the comment color are created.
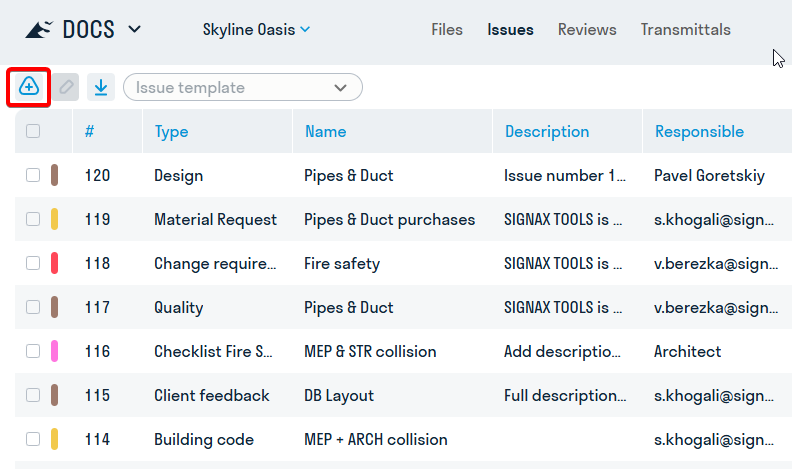
A tool for transferring and assigning comments from DOCS to specific elements in the model, with a link and comments received from the web application.
Comments on an element are assigned from the comment register. First, create the necessary comments in the desired tab in the web version of SIGNAX DOCS.
After creating the notes, go to the Navisworks model.
In the Navisworks model, select the elements to which you want to assign notes. This can be one or several elements.
To assign a ready-made note to an element, click the "From DOCS" button in the Notes category, in the SIGNAX PRO tab.
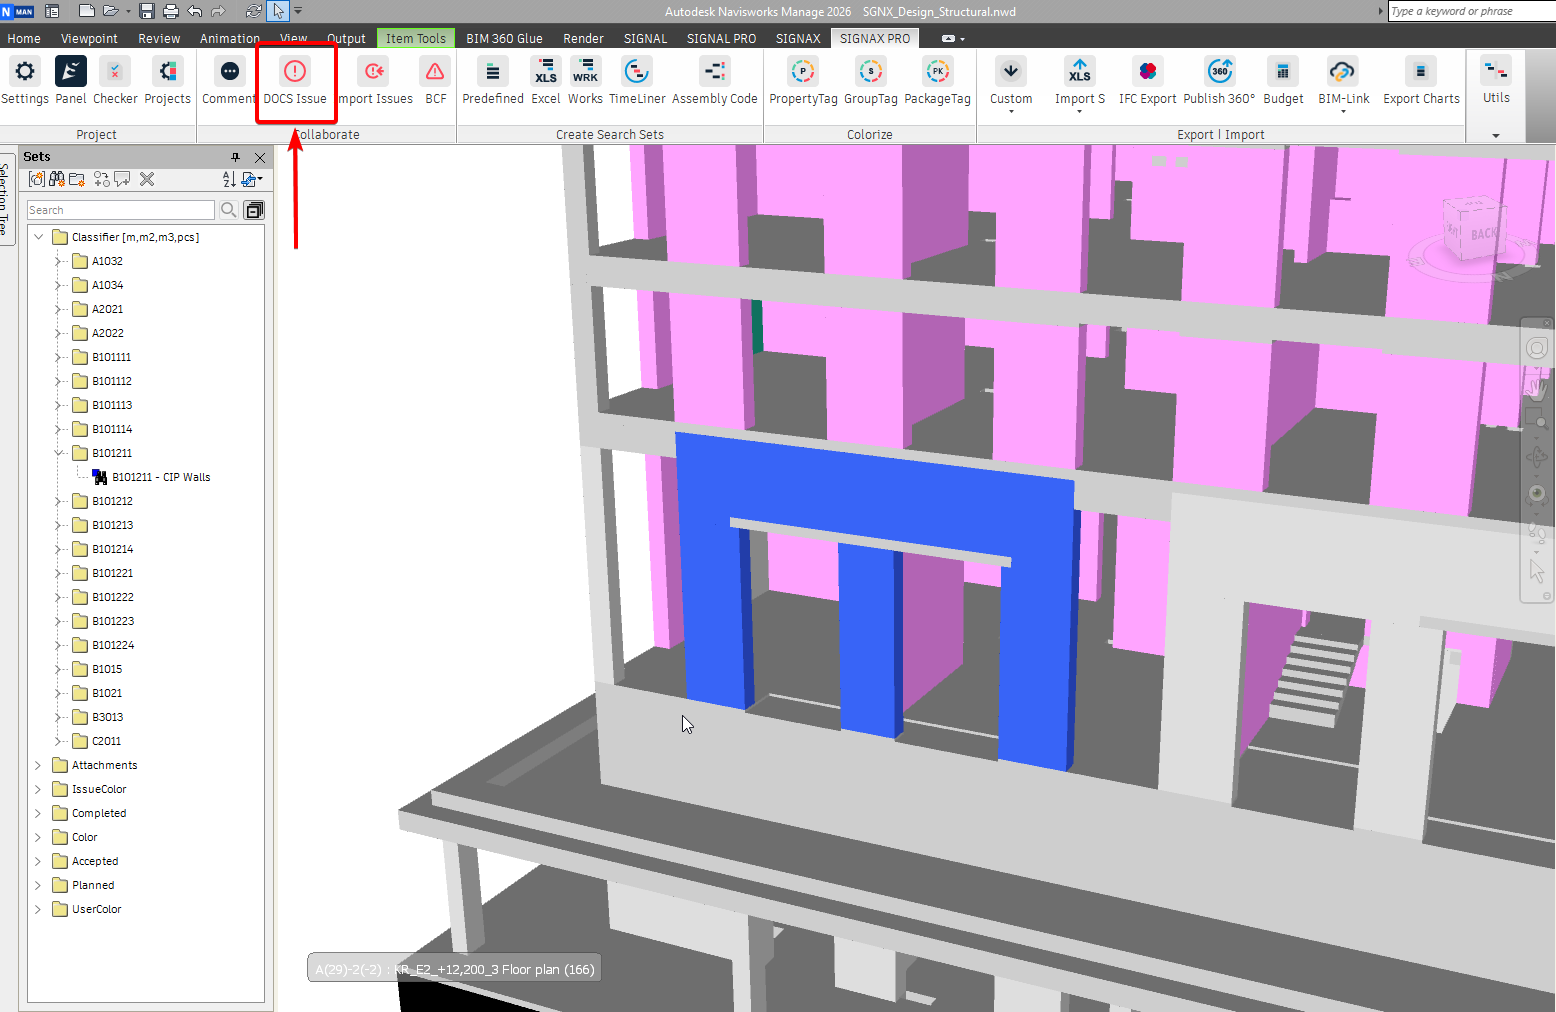
A window with a choice of notes will open. All notes are loaded directly from the DOCS web application registry. Find the desired comment using the “Type” filter and the search bar and click “Continue”.
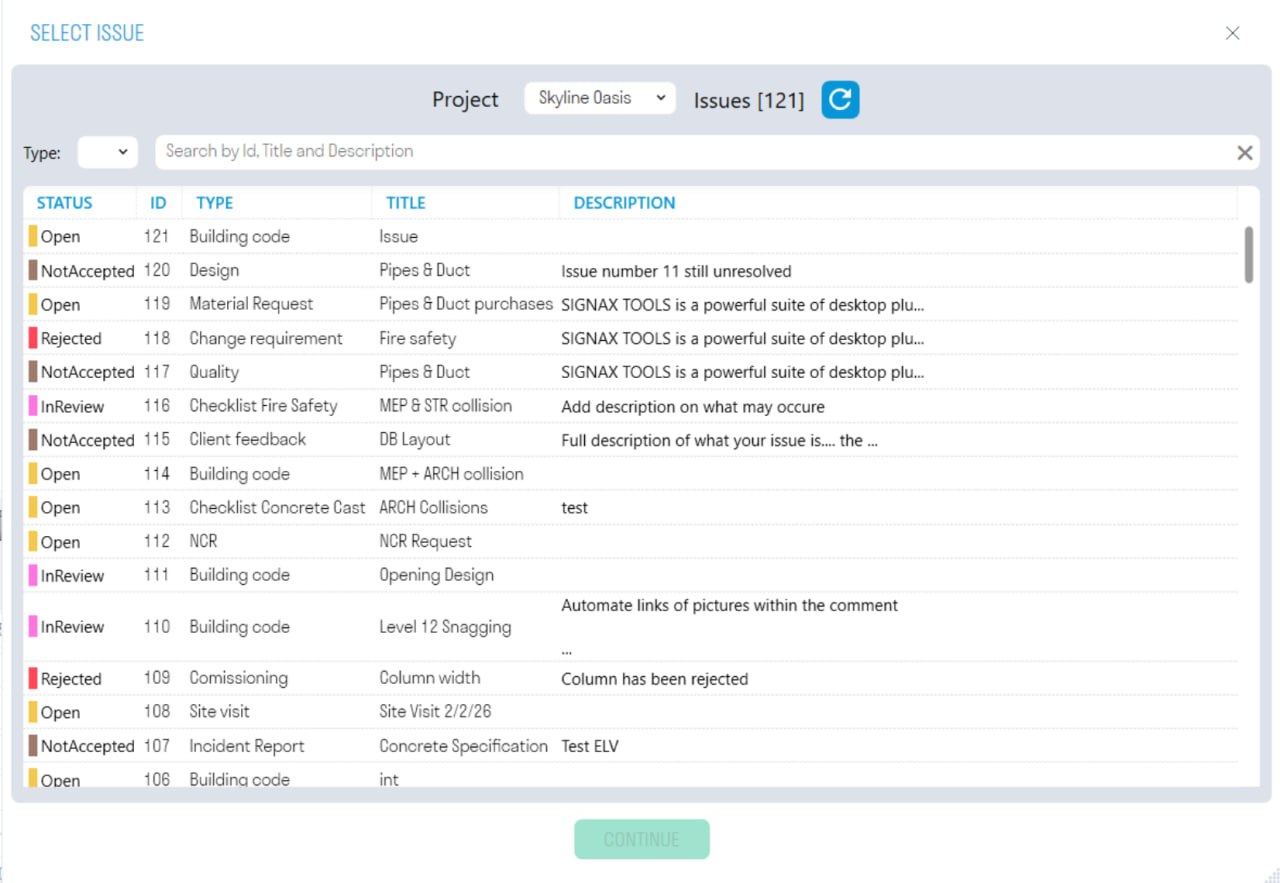
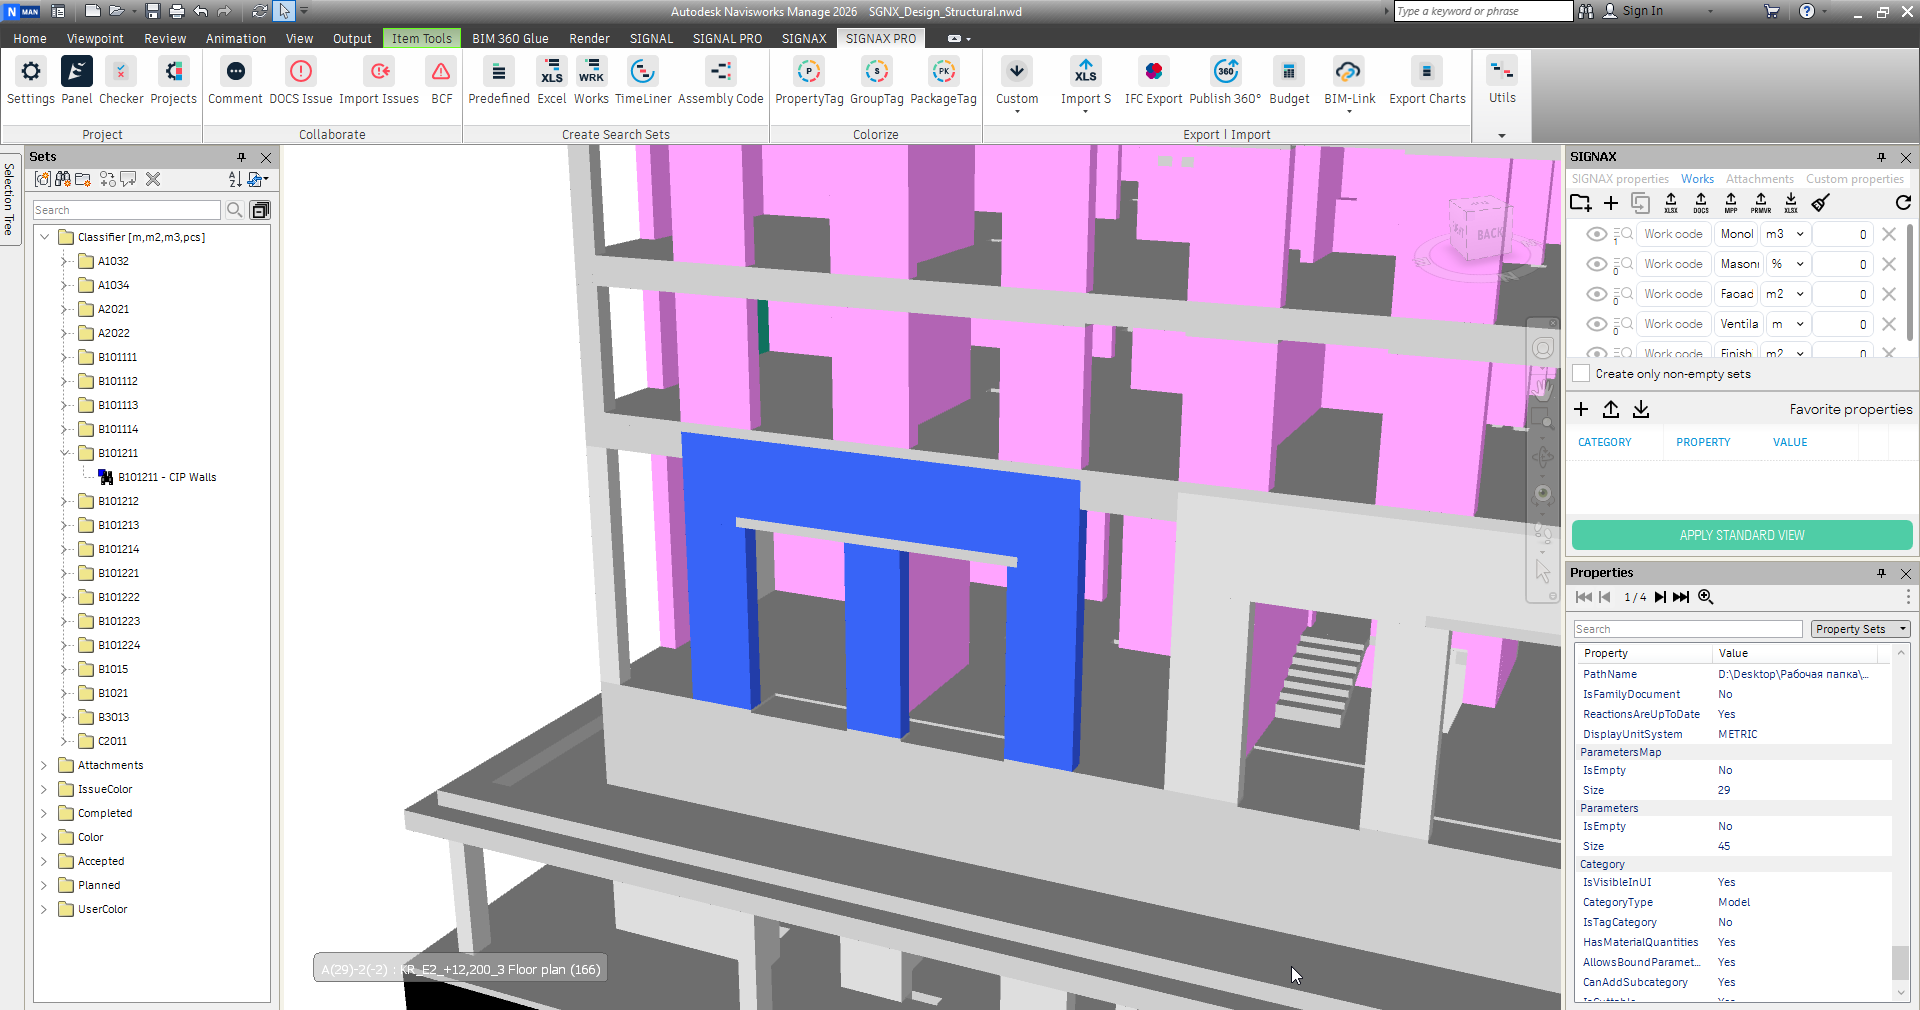
The elements will be highlighted in the remark color and in the properties, in the SIGNAX category, you will be able to see a link to the remark in the web application registry, as well as comments on it:
The tool allows you to import and assign remarks with linking by elements, from the SIGNAX DOCS model to the same Navisworks model, by element code.
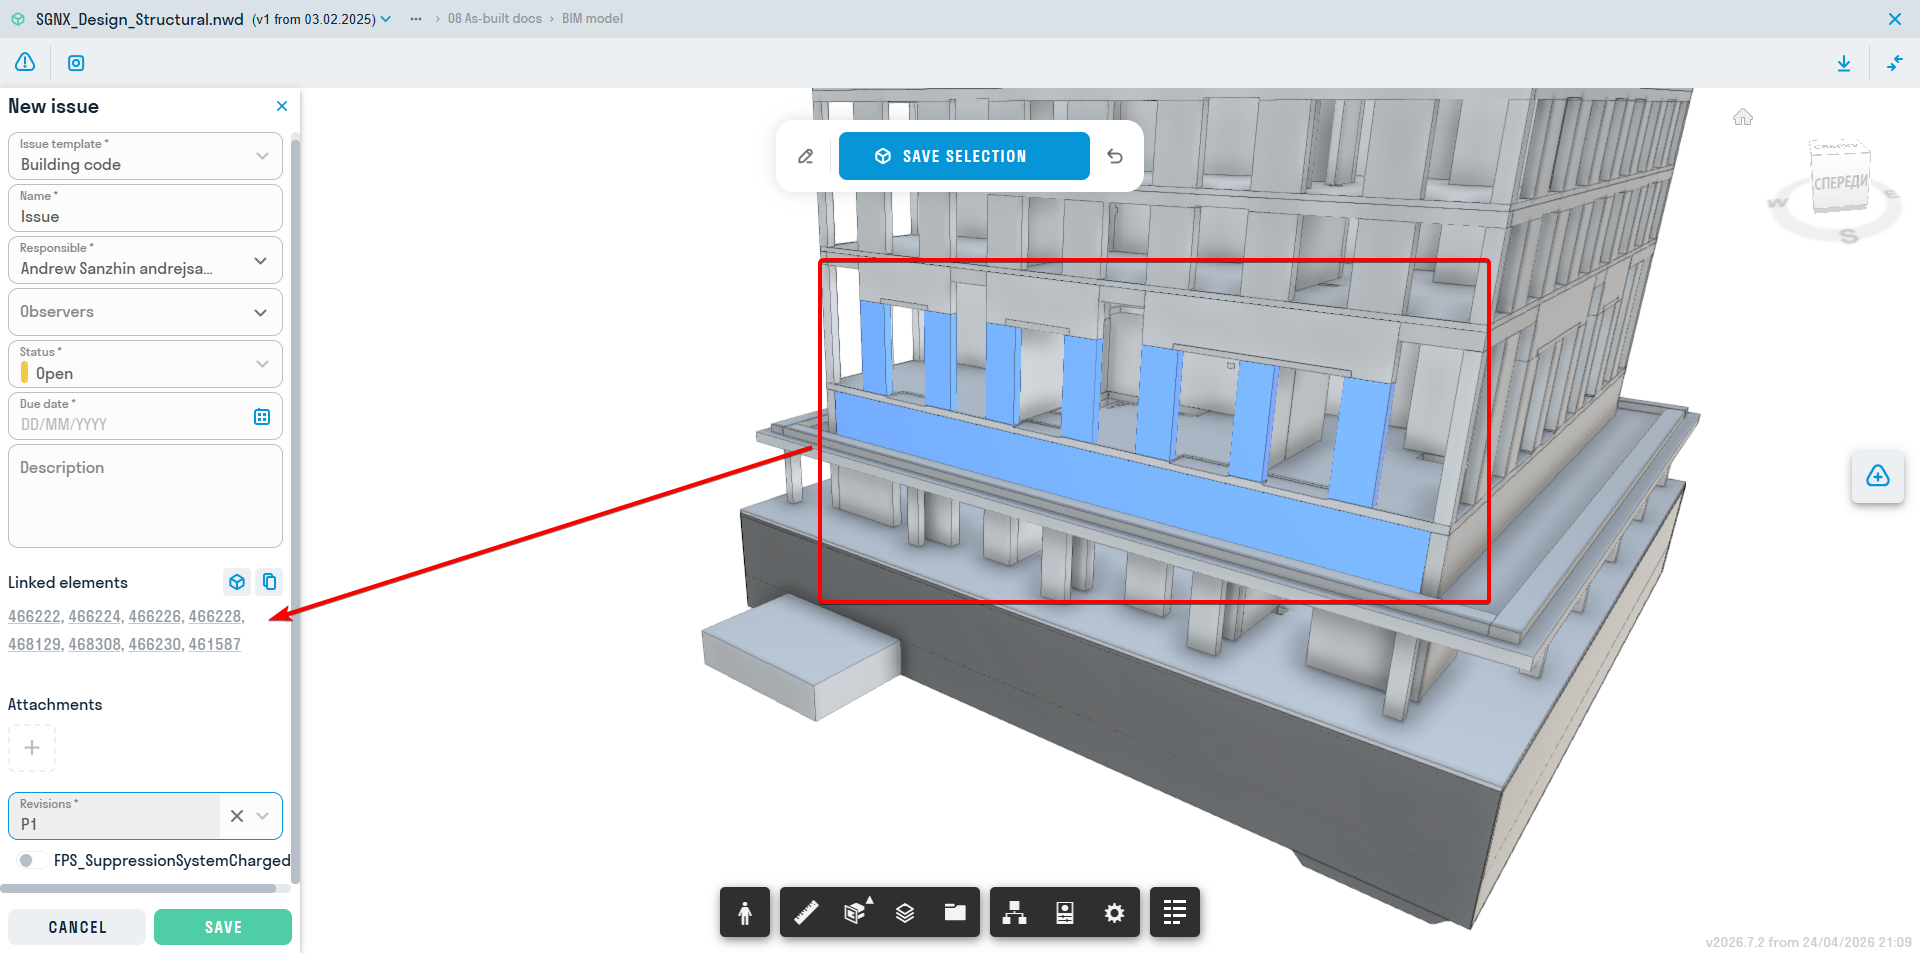
In the SIGNAX DOCS web application, in the nwd model, create a remark with linking by element.
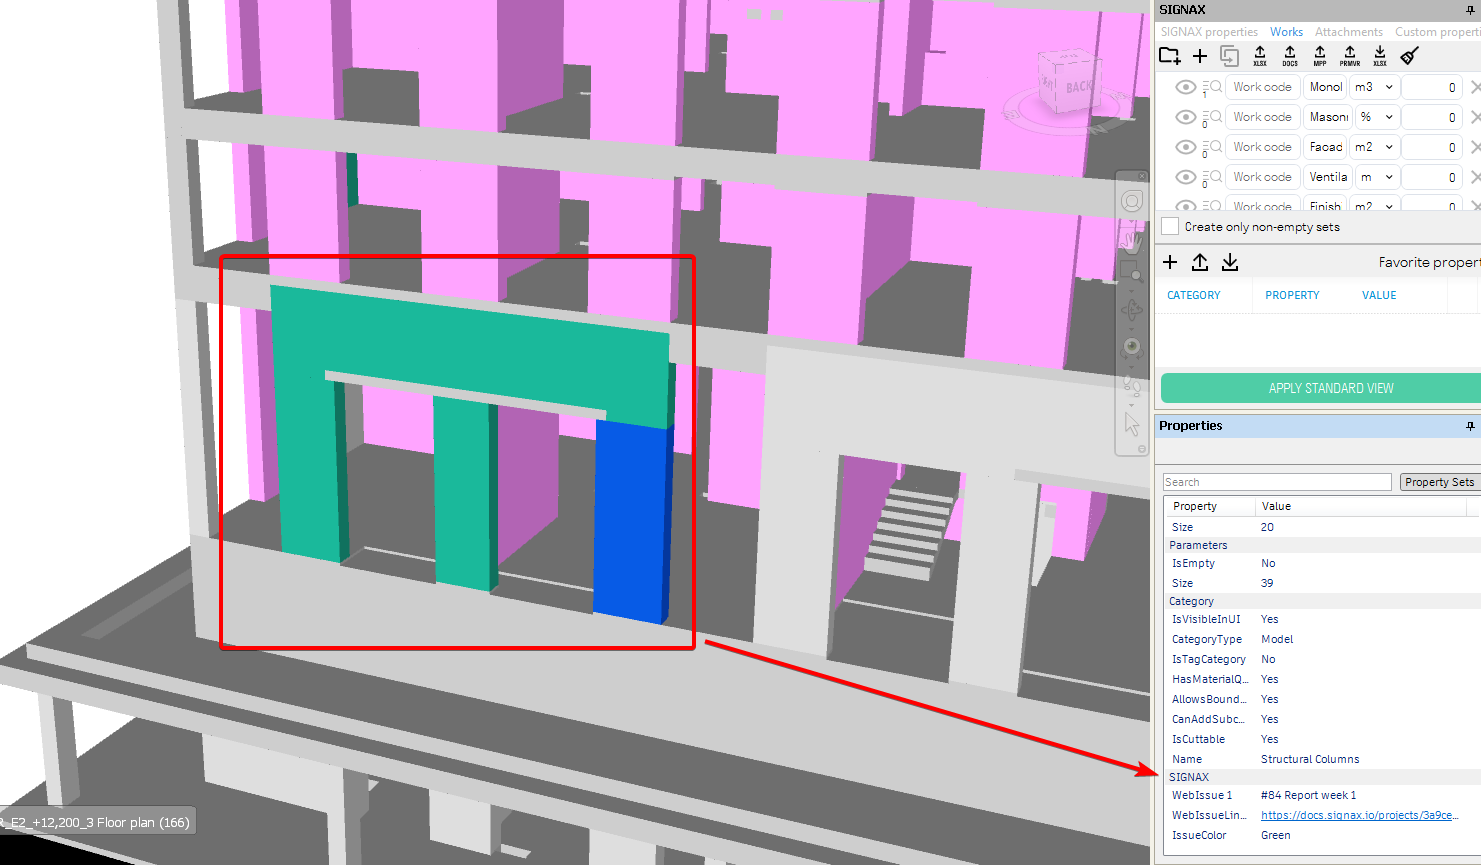
1. Open the model and use the “plus” sign to create a remark
2. In the model, select the desired elements for which you want to add a remark.
3. Click “Save selection” and then fill in all the remaining fields as necessary.
4. The linked elements will be written in the left-hand remark window.
5. Save the remark and go to Navisworks.
In Navisworks, open the same model that is loaded in DOCS. Then, in the SIGNAX PRO tab, in the Notes category, click "Import Notes".
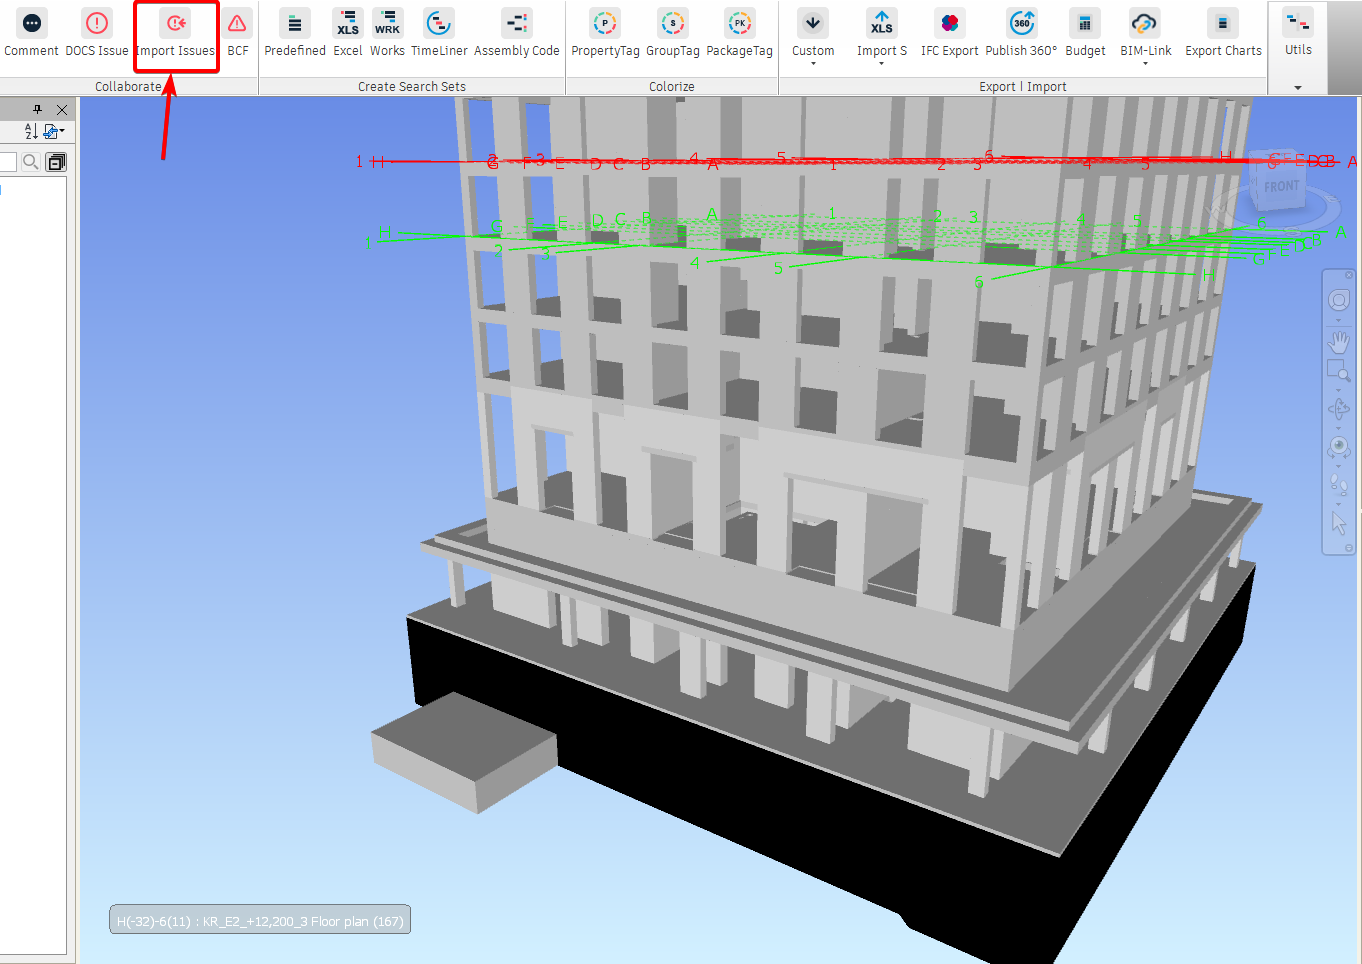
IMPORTANT! If you have not previously specified the company and project in the SIGNAX PRO settings, the tool will not be available!
A window with the project specified in the settings will open. Select the same file in which the notes were previously created.

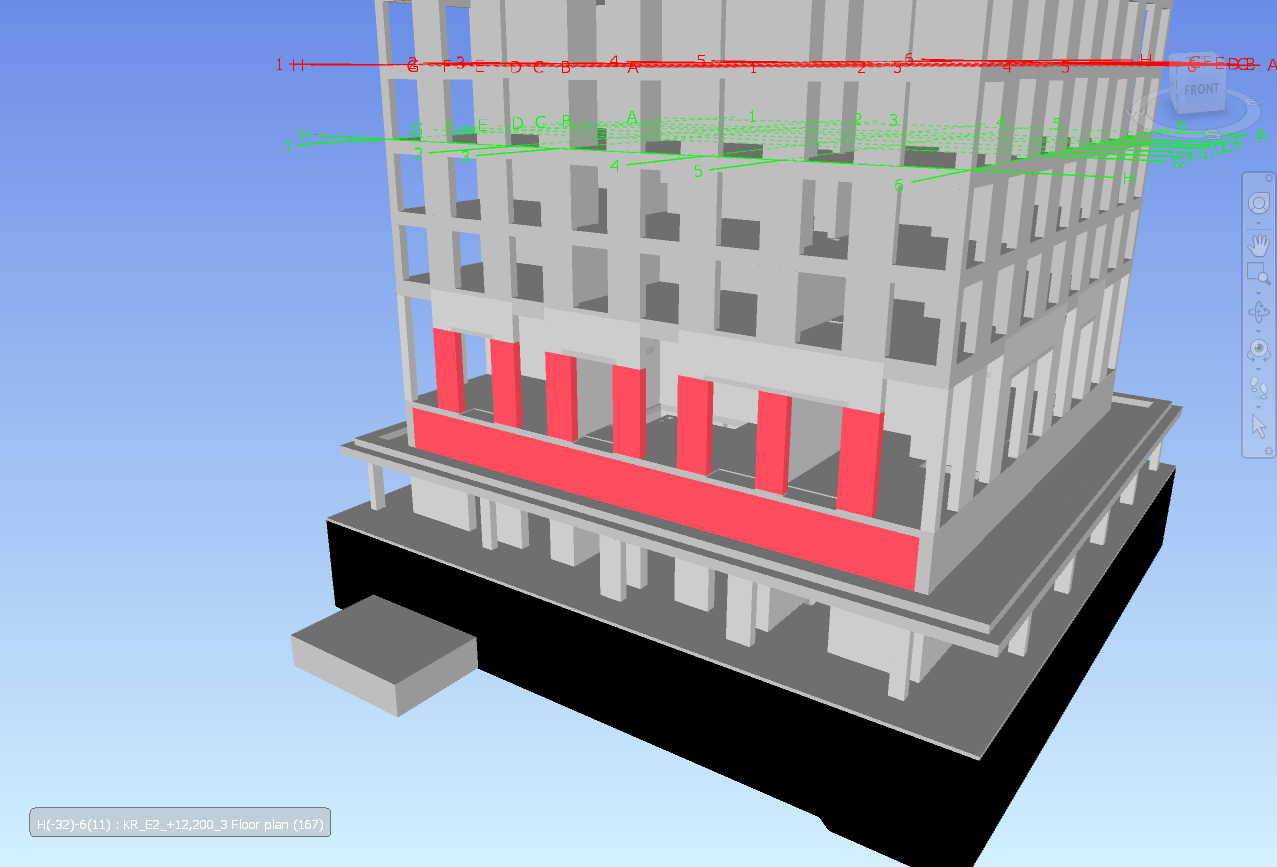
After this, all notes for the model will be loaded and linked to the elements by IDs.
If the upload is successful, this window will appear:

The elements will be recolored in the color of the note and will have a SIGNAX category in their properties, which will describe the note.
< TOOLS FOR NAVIS. Projects | TOOLS FOR NAVIS. Creating a PN >