< INSPECTION. Album | TOOLS. Installing the plugin >
¶ Getting Started Software
- Official App from the Theta Camera ( Android ) ( iOS ) ( PC )
- Official App from the Insta360 Camera ( Android ) ( iOS ) ( PC )
- SIGNAX Photomaker App ( Android ) ( iOS )

Getting Started with the Theta V Camera: https://support.theta360.com/ru/story/v/settings/
Theta V Camera User Guide: https://support.theta360.com/ru/manual/v/

Getting Started with the Theta Z1 Camera: https://support.theta360.com/ru/story/z1/settings/
Theta Z1 Camera User Guide: https://support.theta360.com/ru/manual/z1/
¶ Possible Errors and Problems
- If the camera does not work or does not work correctly, it can be forced to turn off by holding two buttons at the same time (power + wifi) for 20 seconds.

- The power will be forced off.
- If photos are placed on plans with a clearly incorrect north direction or a compass calibration error is displayed:

You need to calibrate the compass in the camera as follows:
- With the camera turned on in front of you, make wide movements in the shape of an “8”.
The camera will be calibrated and the error icon will disappear.


Another calibration option: https://youtu.be/VL5VLKWrdtw?t=395
- Battery consumption graph for different usage modes
- without BT and WIFI
- with BT and WIFI
- Connected app with preview
- 10sec interval shooting
- Video recording

- If the following error appears when opening the application on a smartphone with Android OS:
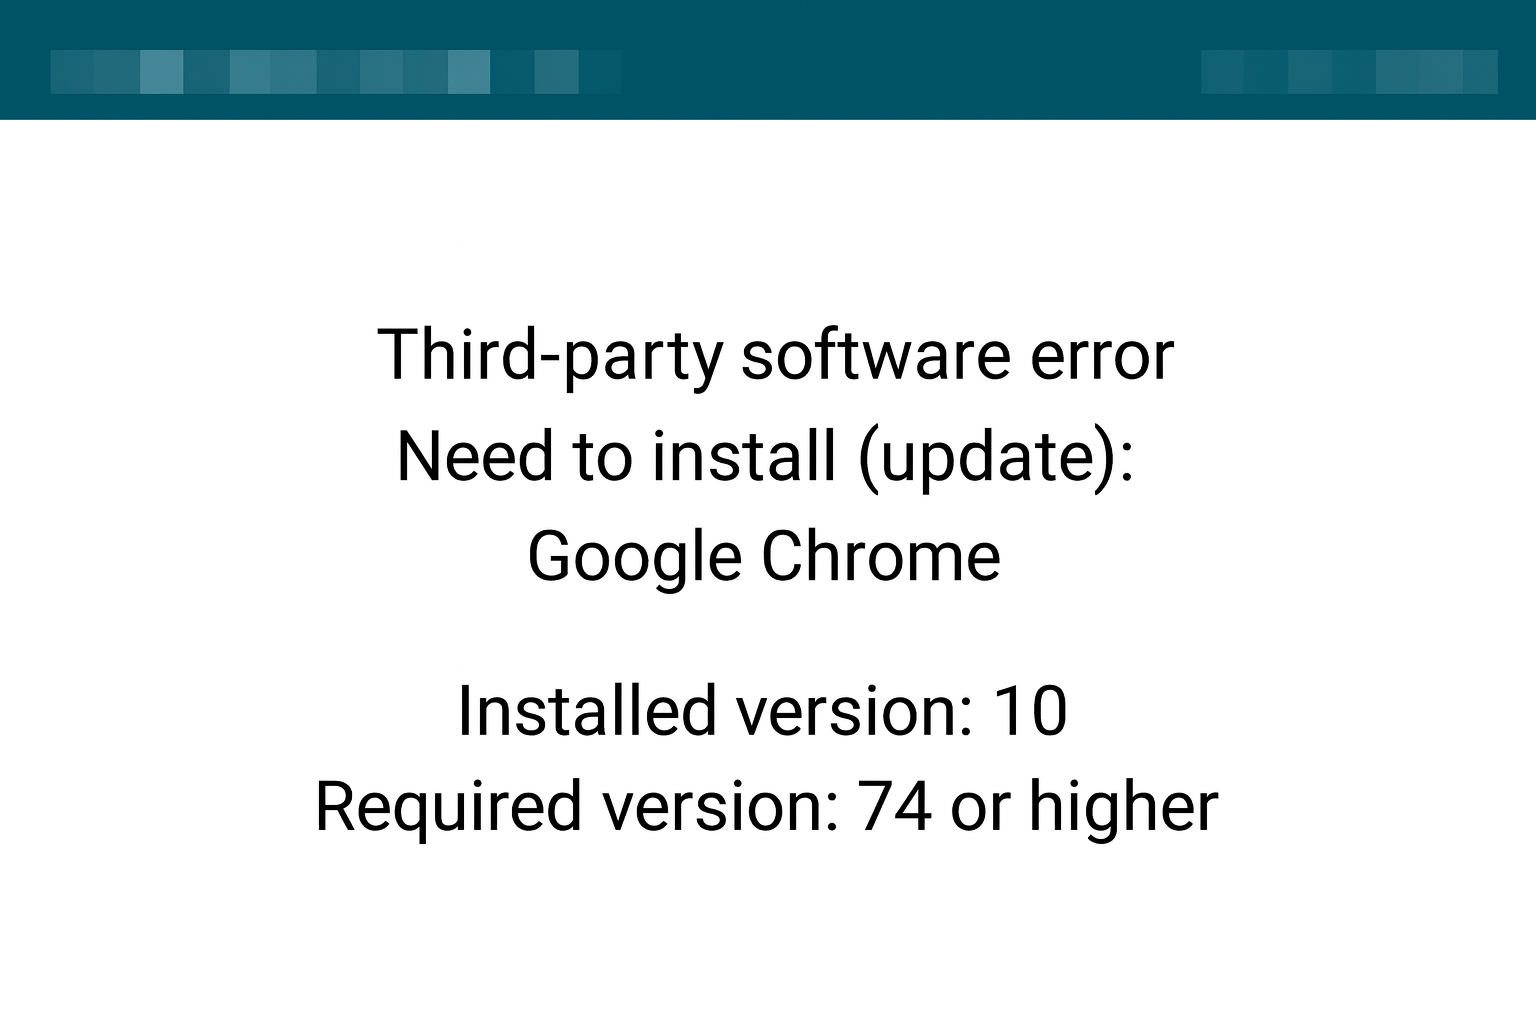
You need to:
3.1 Follow the link https://play.google.com/store/apps/details?id=com.google.android.webview
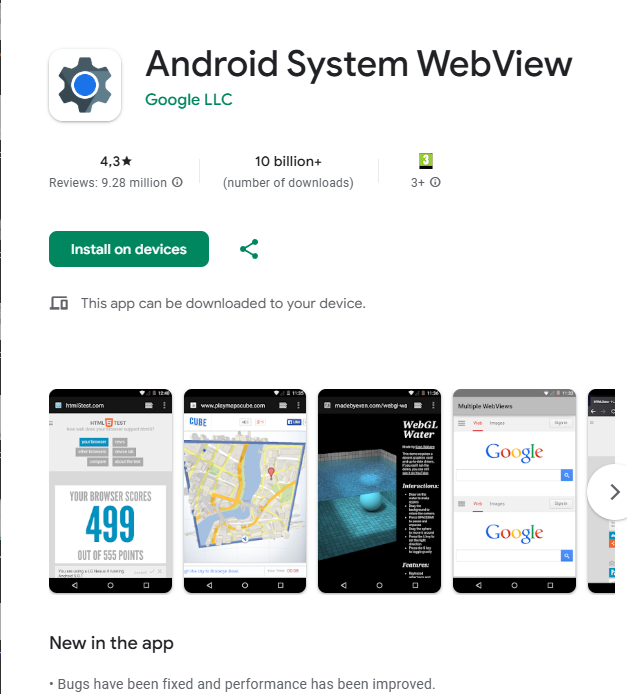
3.2 Install the Android System WebView application
You can also find the application in Google Play by entering webview in the search bar. Please note that the first application that Google Play offers will have the same name Android System WebView, but this is an application for developers, as evidenced by the inscription Dev on the application icon. You need the custom version of

- In the “Connection” section, click “Select Company” and select a Company and Project from the list
.jpg)
4. Click “Sync” to download the current plans and points of the selected project.
.jpg)
.jpg)
IMPORTANT - You must sync before disconnecting from your working Wi-Fi
5. Next, turn on your Theta V or Theta Z1 camera
6. Connect to the camera's Wi-Fi (find the camera in Wi-Fi networks on your smartphone). The system will ask you to enter the password - these are the numbers on the bottom of the camera (as well as the numbers in the Wi-Fi network name).

7. Then go back to the application and tap "Camera". Select the camera you are using from the list and, if necessary, enter the Login and Password for it.
.jpg)
.jpg)
8. Preparation is complete, you can start shooting.

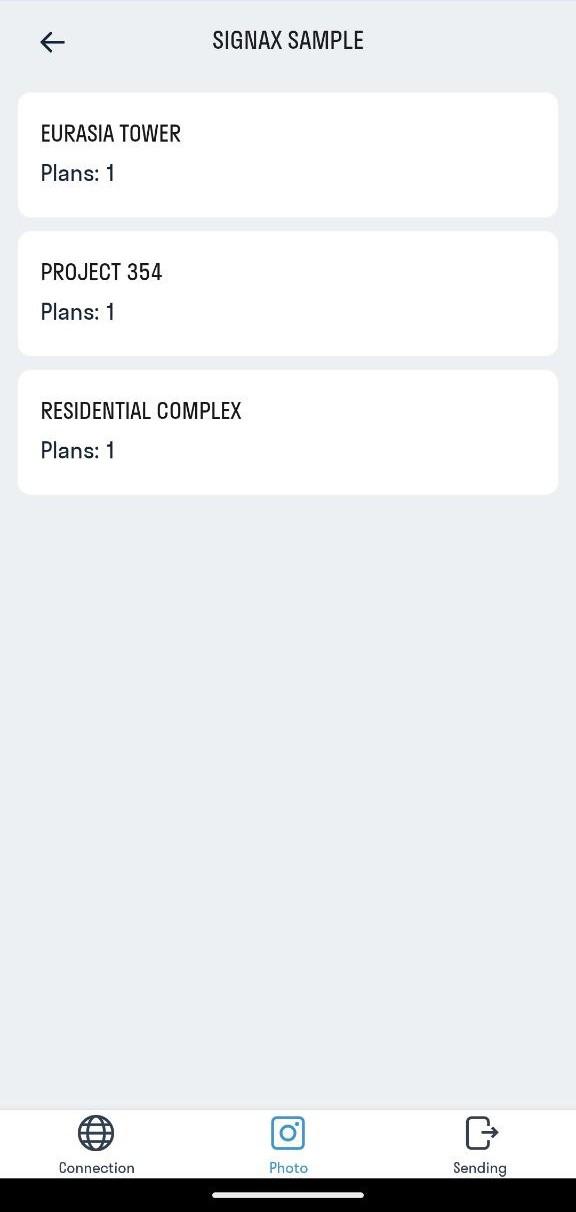
- Go to the "Photo" section. Select the building and floor (plan)

- Next, select a point on the plan and click "Take" to take a photo. You can take several photos from one point.

- To view the resulting image, click "Preview". You can delete the photo if necessary.
- Repeat the shooting process (step 2) for the remaining points in the project.
¶ Shooting recommendations
In normal mode, install the camera on a tripod at a height of 1.80 m from the floor. Depending on the shooting tasks and the room being shot, adjust the height based on the situation. For example, shooting utility lines in a two-level room with a ceiling height of 7 m.
IMPORTANT! To avoid adjusting the north direction of your photos, you need to install the camera as follows:
- Theta Z1 camera - the lens on the side with the camera display should be directed to the south of the plan (facing you).
- Insta360 X3 camera - the lens on the side with the camera display should be directed to the north of the plan (turned away from you).
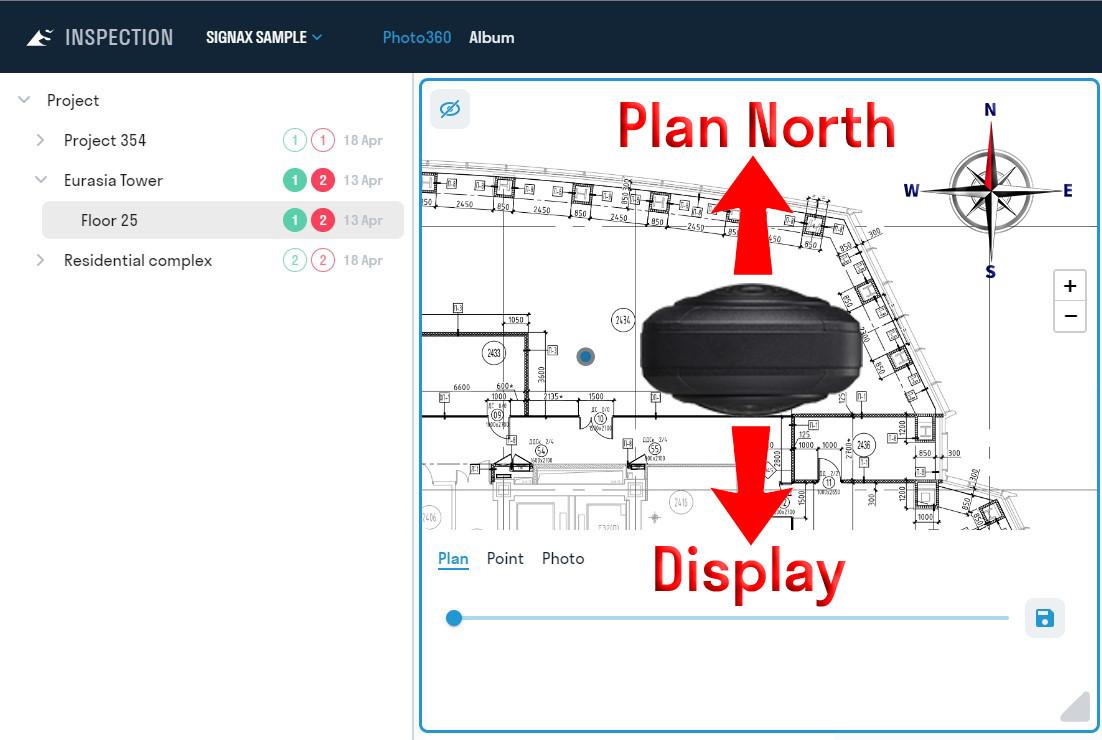
In this case, the zero degree of the photo will be directed to the north of the plan.
IMPORTANT! Make sure your camera is set to photo mode (not video).

- Disable the camera's Wi-Fi and connect to a working Wi-Fi or mobile network (if using unlimited data plans)
- Go to the "Submit" section. To upload photos to the INSPECTION service, click "Submit all". Wait for the data to be uploaded.
- After sending the data, you can delete the photos taken from the smartphone memory by clicking “Delete sent photos”.
