< INSPECTION. Photomaker App | TOOLS. How it Works >
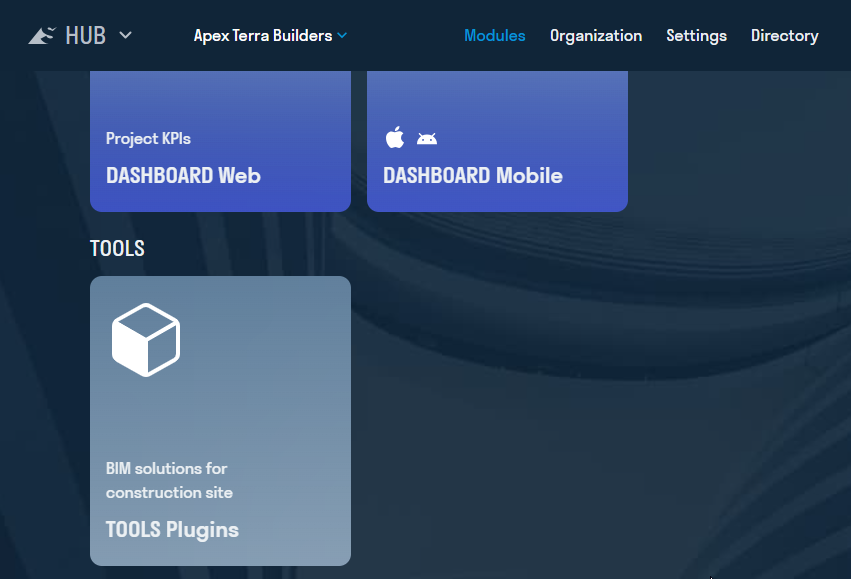
1. In the HUB, go to the “ MODULES ” tab and select the “PLUGINS” card.
2. Click "LOGIN".
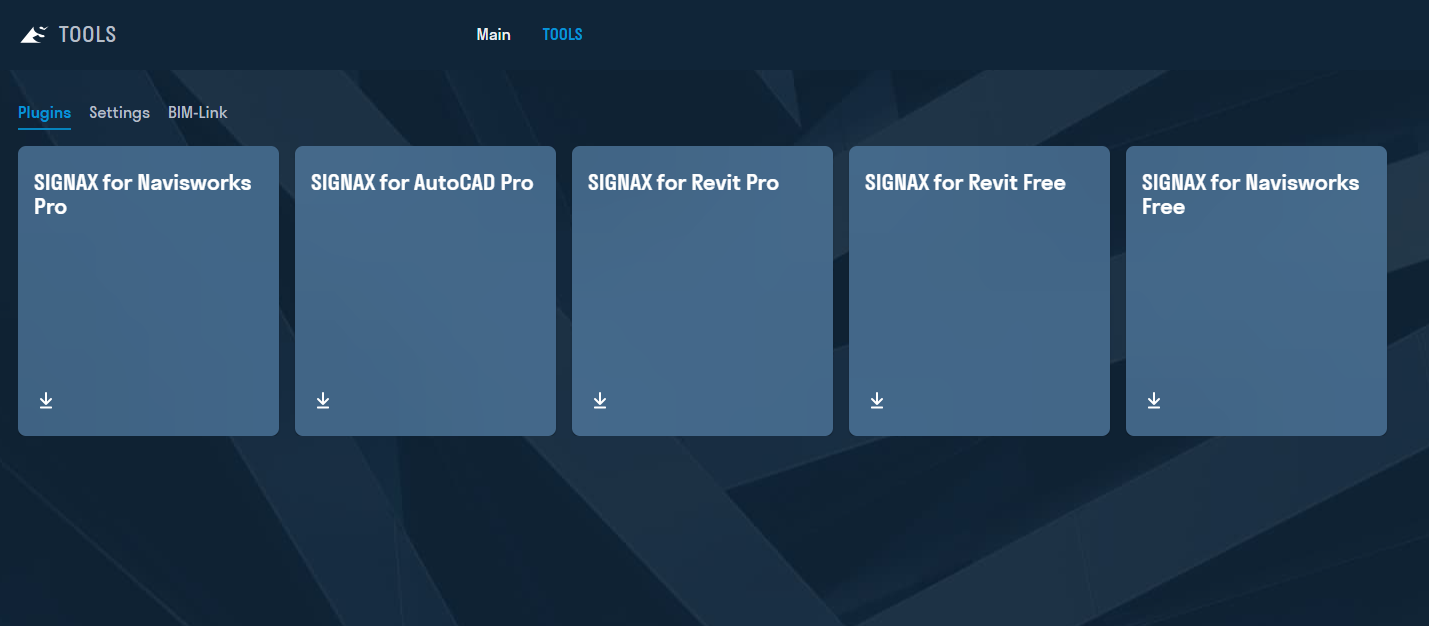
3. Download the plugin by clicking on the corresponding card.
ATTENTION: If you have earlier versions of SIGNAX TOOLS plugins installed on your computer, you must remove them before installing the new version of the plugins. You can remove them using the standard Windows "Add or Remove Programs" function.

4. To install the plugins, you must have Autodesk Revit and Autodesk Navisworks software, versions later than 2020, installed on your computer.
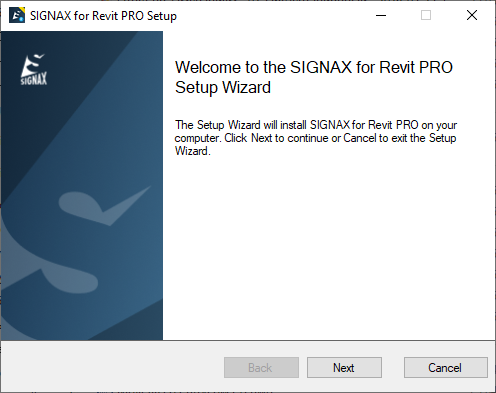
- Double-click the downloaded files, read the License Agreement, confirm your agreement, and click “Next”, then “Finish”.
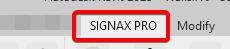
5. After installation, two tabs will appear on the top control panel of the software: “SIGNAX” and “SIGNAX PRO”.
6. License Activation.
This action is performed after the Administrator has assigned you a License.
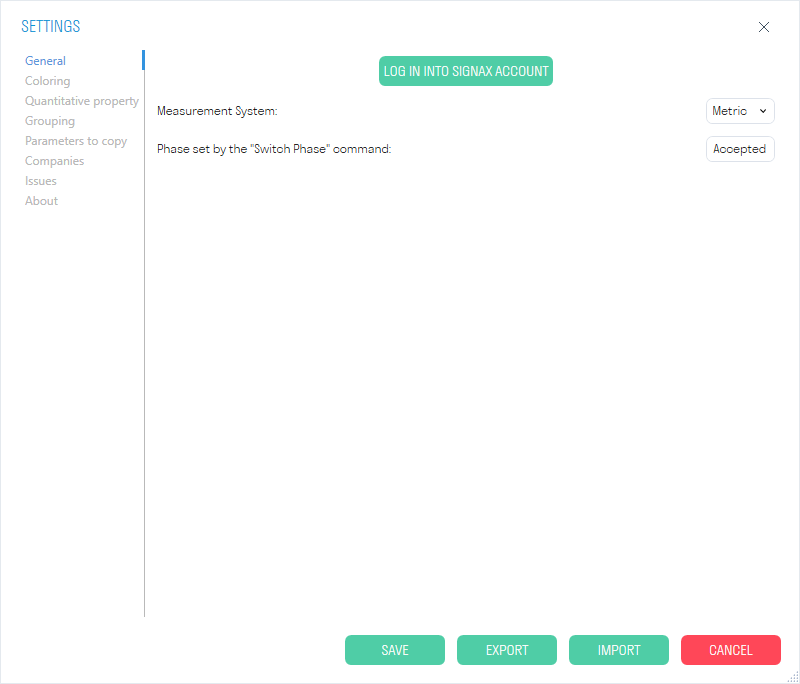
- “SIGNAX” tab ➤ “Settings” ➤ “General” ➤ “Sign in to your account”.
Note: If you do not have the Edge browser on your device, or you are using Windows 7, you need to create the BrowserAuth.txt file in the %appdata%/SIGNAX Common folder.** In this case, authorization will occur through the standard browser of the device.
7. In the window that opens, enter your email and password, which the Administrator used to add you.
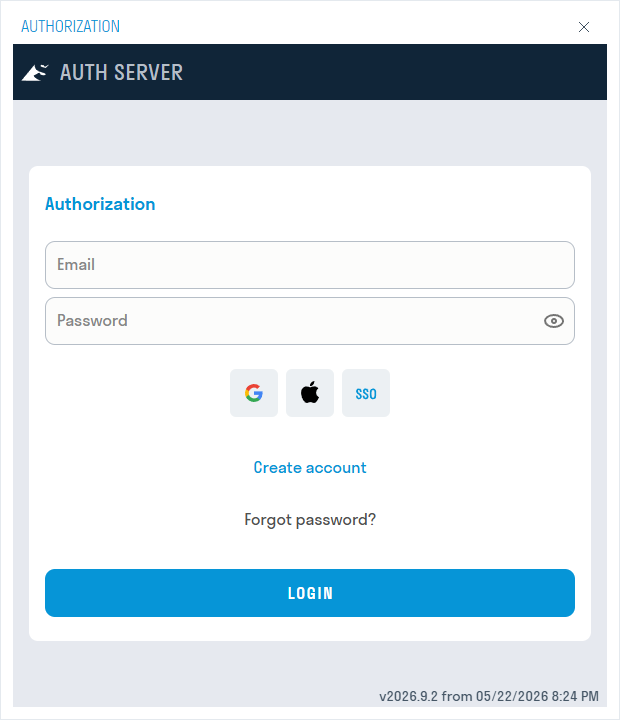
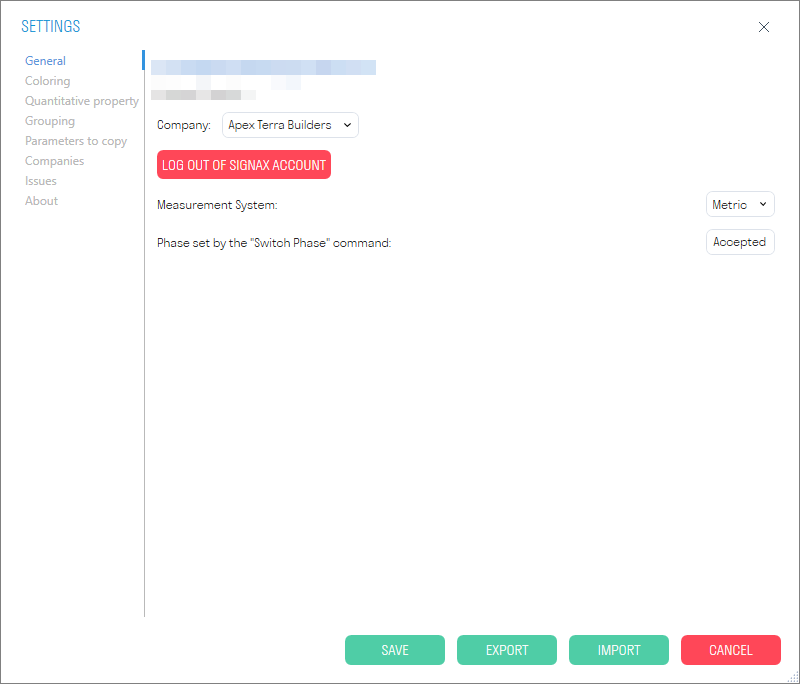
8. Next, select the Company and click "Log in"
9. Wait for the Company and Project to appear and then click "Save"
Installing the plugin if you reinstalled Navisworks
Before reinstalling Navis, do the following:
Copy to your desktop
1.) SIGNAX for Navis folder:"C:\Users\username\AppData\Roaming\SIGNAX for Navis"
2.) "C:\Users\name user\AppData\Roaming\Autodesk\ApplicationPlugins\SignalForNavisPRO.bundle"
3.) export the settings

After reinstallation, install the plugin (you can download it from the link https://tools.signax.io/ ) and put the copied folders in the same paths specified in points 1 and 2, and also import the settings (as on the screenshot, but the "Import" button)