2.3.3. Administrator registration workflow
- Registration of your own account.
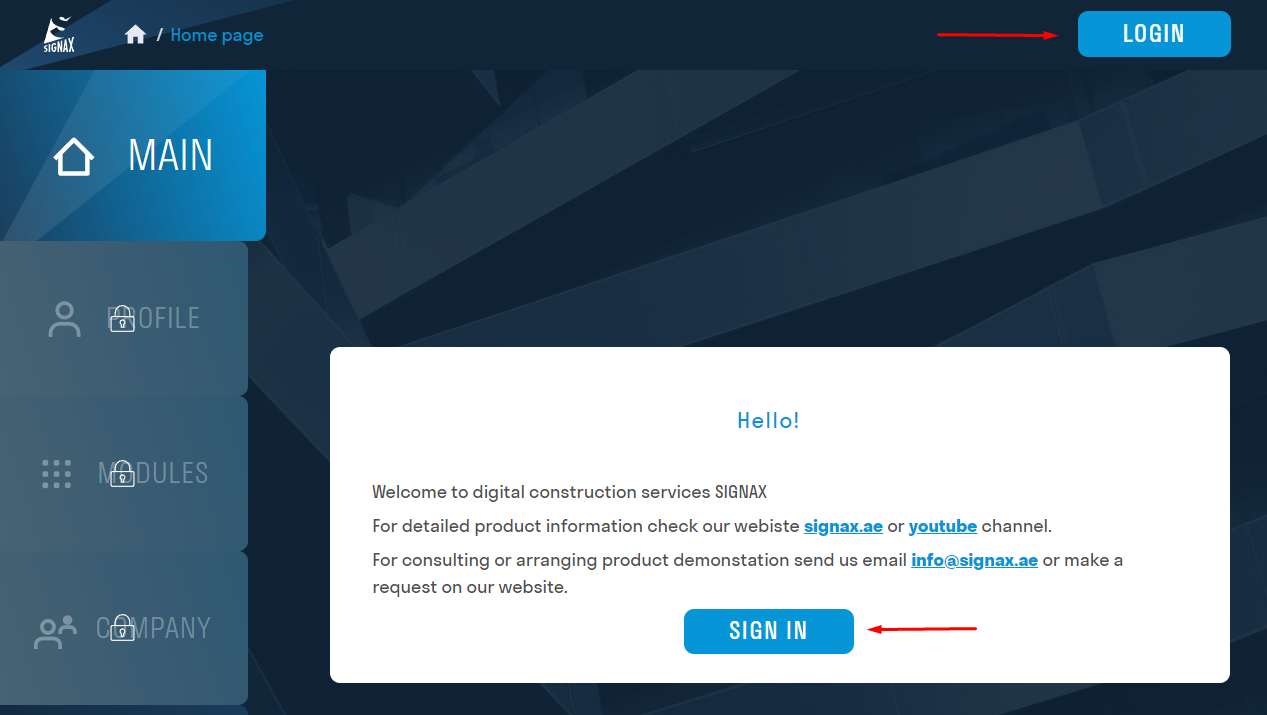
1.1. Enter the following URL into the browser's address bar: https://hub.signax.ae/ You will land on the homepage. Click on "LOGIN" on either of the two buttons.
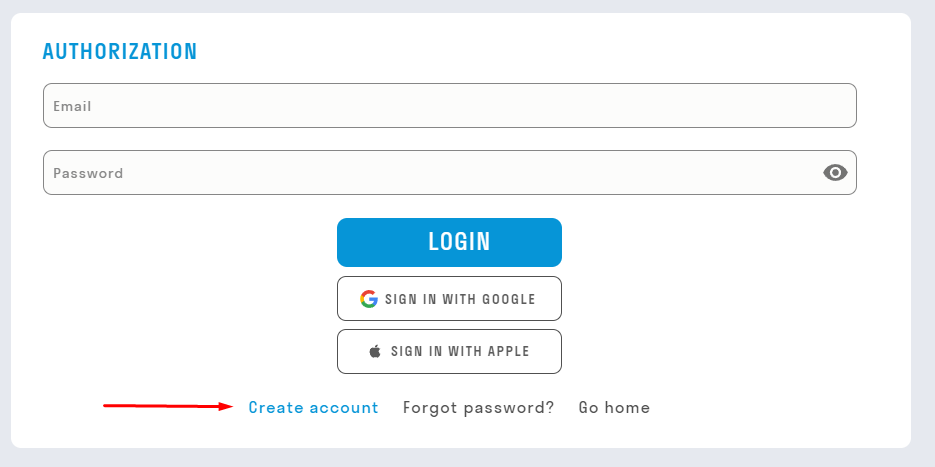
1.2. Click on "Create an account".
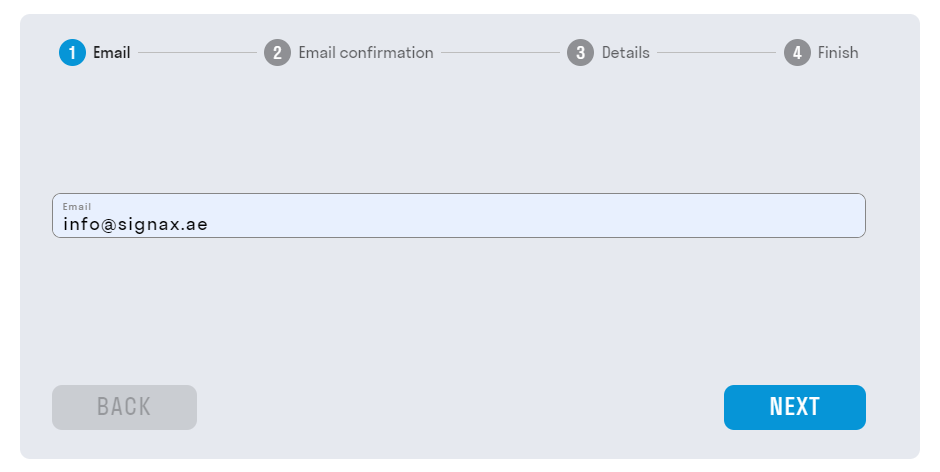
1.3. Enter the email address that will be associated with the Administrator's account.
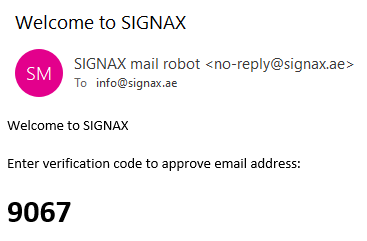
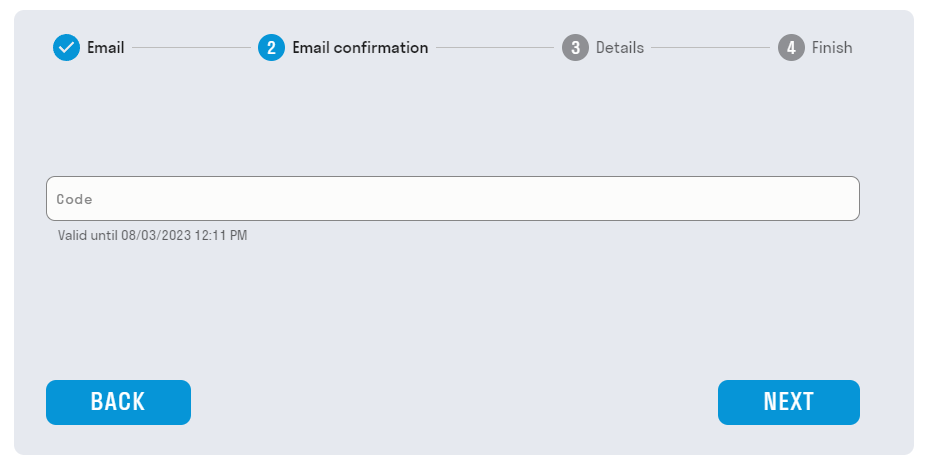
1.4. A window will appear to enter the verification code.
1.5. Within a few minutes, you will receive an email with the password.
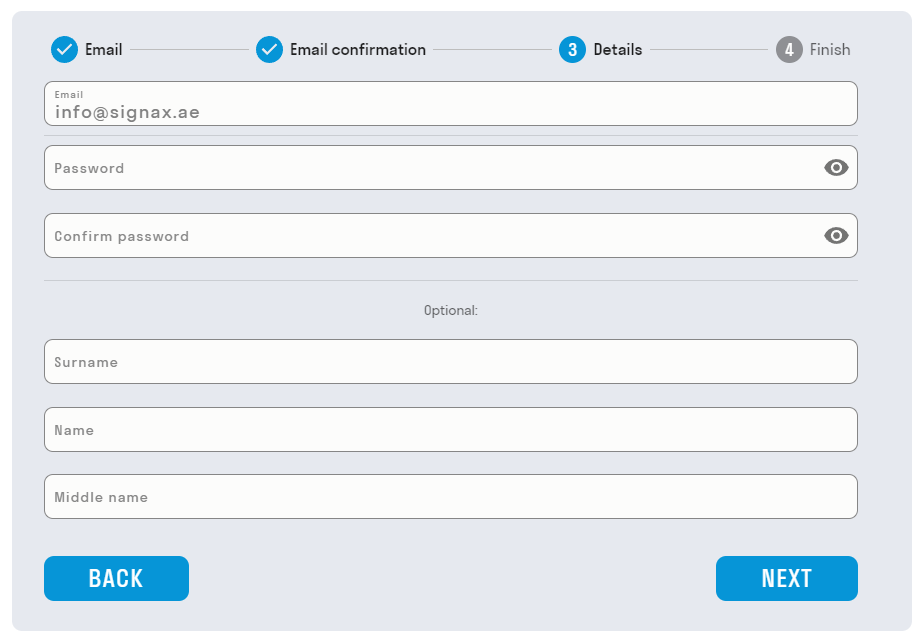
1.6. Enter the password.
1.7. Fill in the required fields.
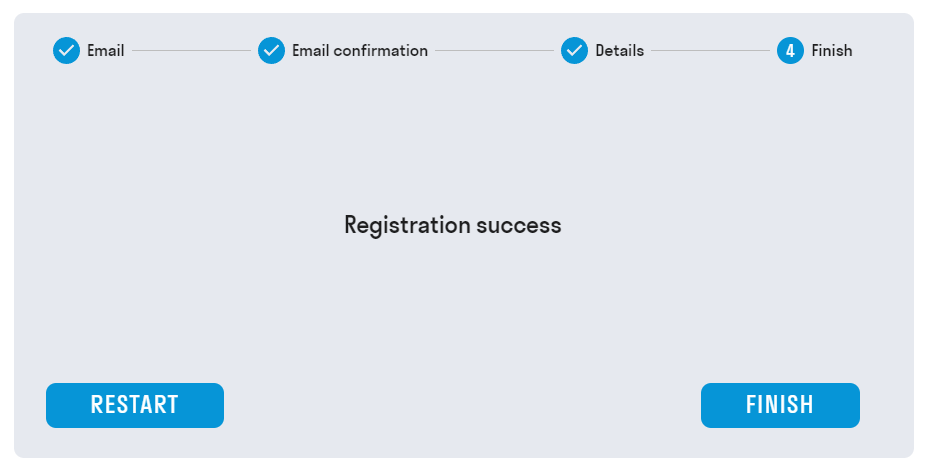
1.8. Complete the registration.
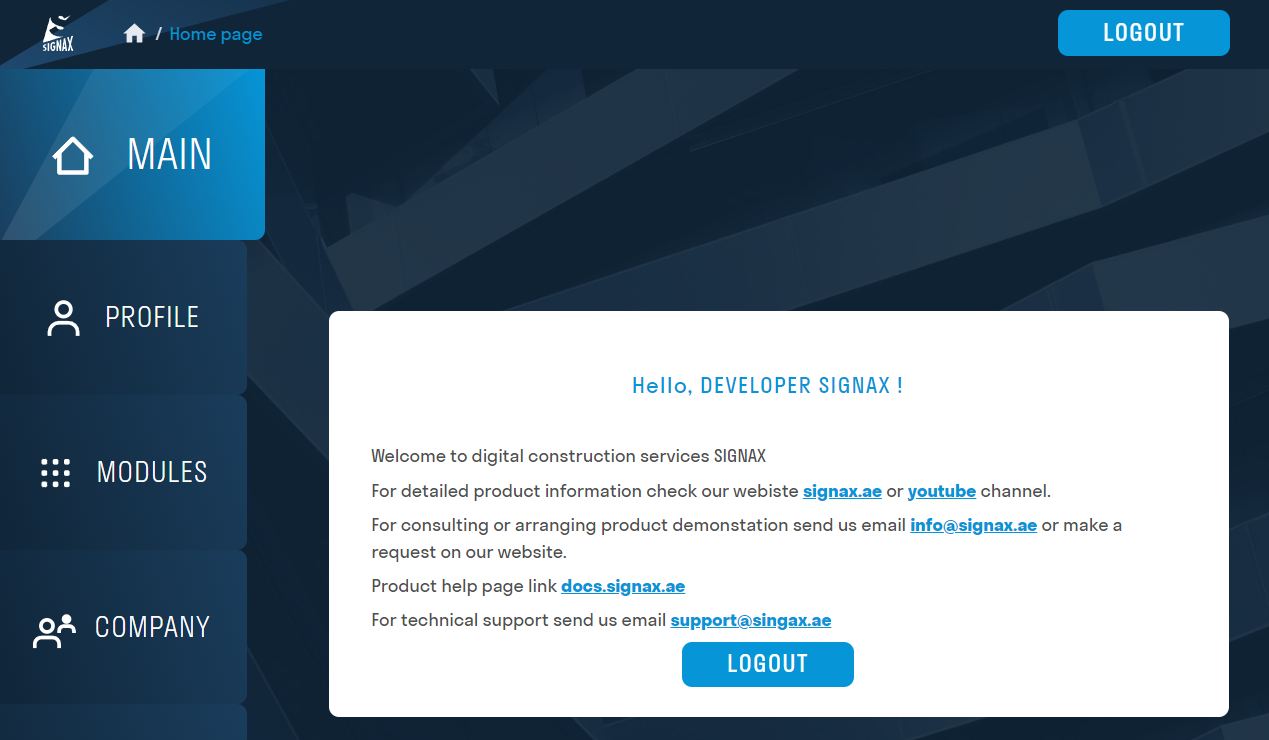
1.9. After clicking "FINISH," you will be redirected to the homepage and find yourself in the personal account of the created account.
- Creating a Company.
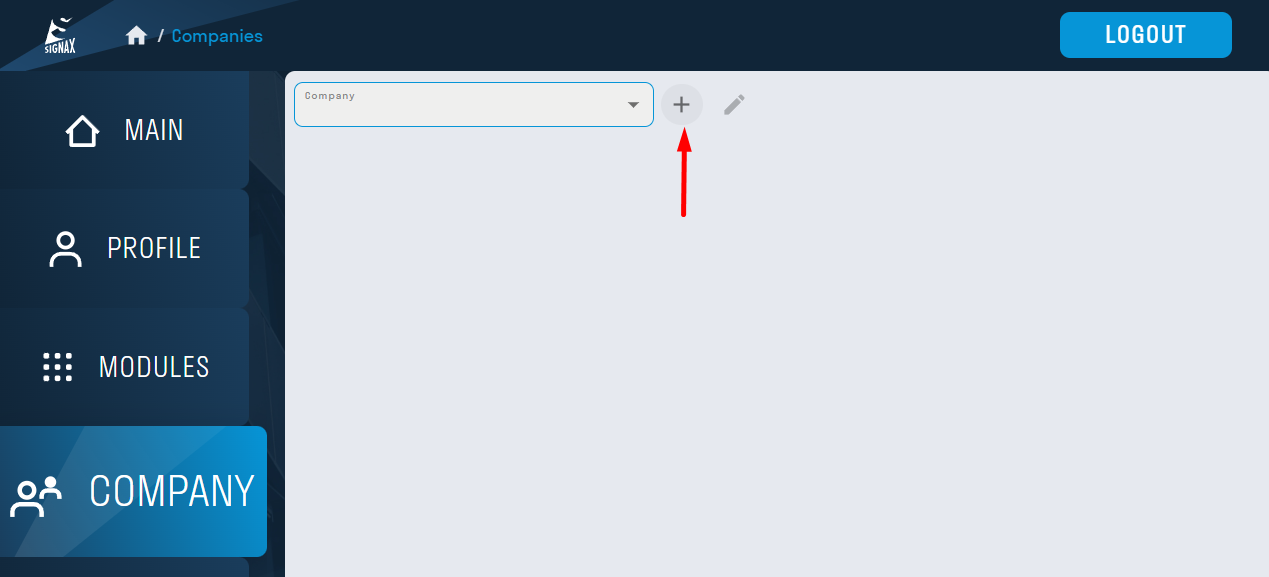
2.1. Go to the "ADMIN" window and click on the "+" button to "Create a Company".
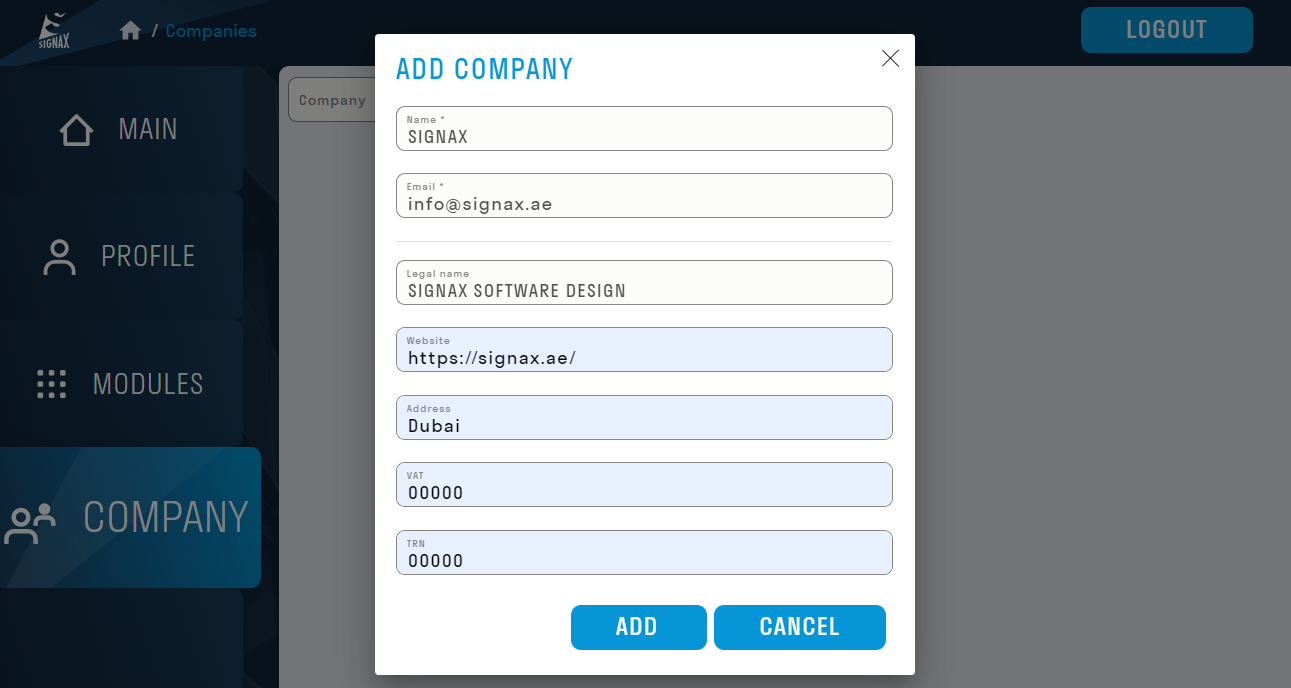
2.2. Enter the Company's details and click "ADD".
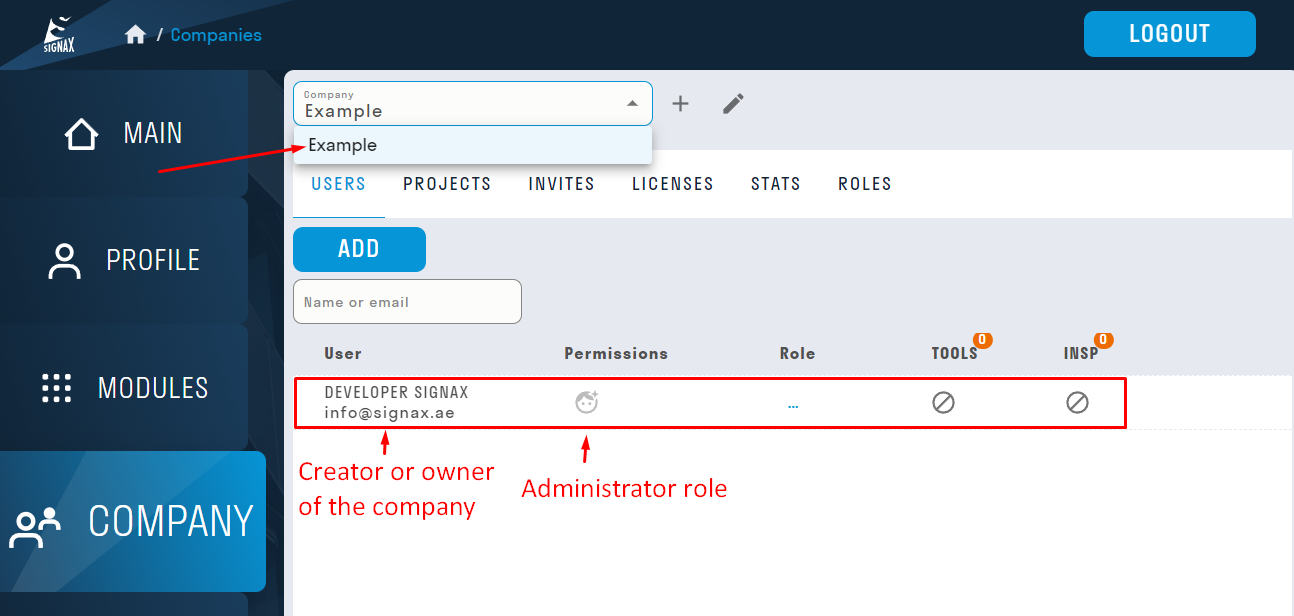
- The account that creates the Company becomes its Owner and Administrator. They can add other Users as Owners and/or Administrators. Added Owners can remove the original creator of the Company if needed, for instance, when the User created and set up the Company as technical support, and their role is completed.
- One account can create a maximum of two companies.
The Owner has the authority to:
- Add or remove users from the Company.
- Assign or remove Licenses from users.
- Create a project and add users to it.
- Appoint Owner and Administrator statuses to other users.
The Administrator has the authority to:
- Add or remove users from the Company.
- Assign or remove Licenses from users.
- Create a project and add users to it.
- Adding Users to the Company.
Add all the necessary Users to the created Company.
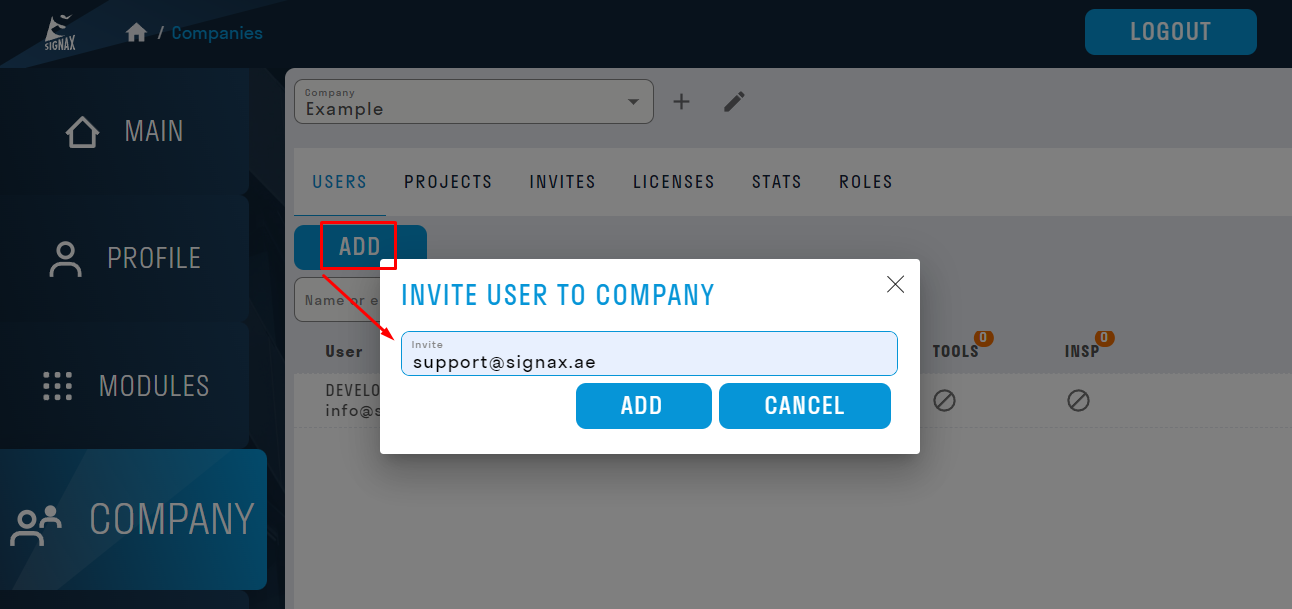
3.1. Select the created Company and click "ADD".
3.2. Specify the email of the User being added.
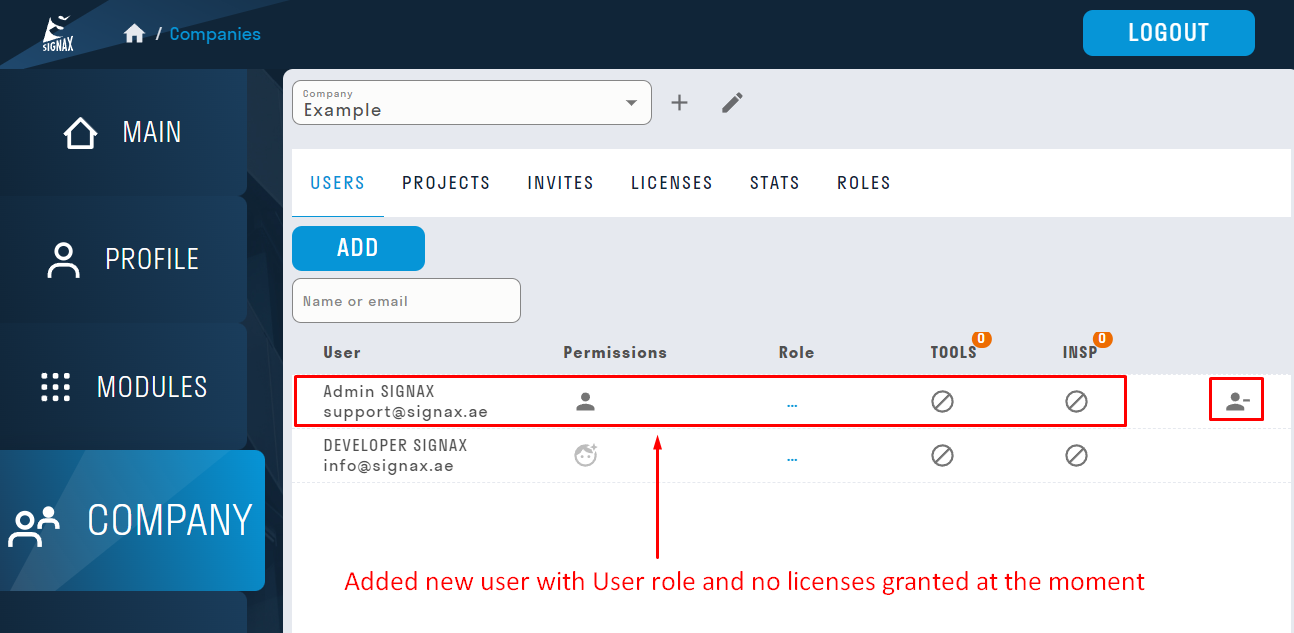
3.3. An invitation will be sent to the specified email address.
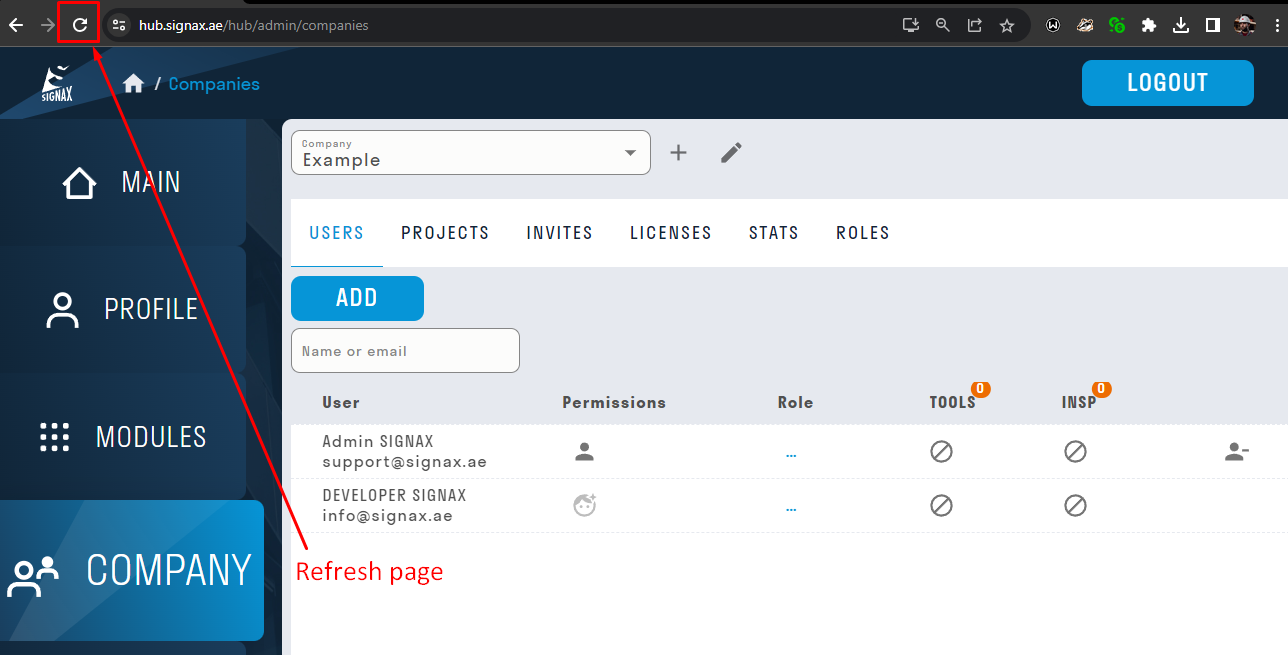
3.4. The Administrator will see the added User after they accept the invitation and complete the registration (see instructions for Users).
3.5. The Company is created, and Users are added.
- Obtaining Licenses.
4.1. The Administrator needs to send a request to support@signax.ae with the following text:
"I am requesting to allocate Licenses:
- Company name that requests the Licenses (specify the name of the created Company).
- The number of Licenses that need to be activated."
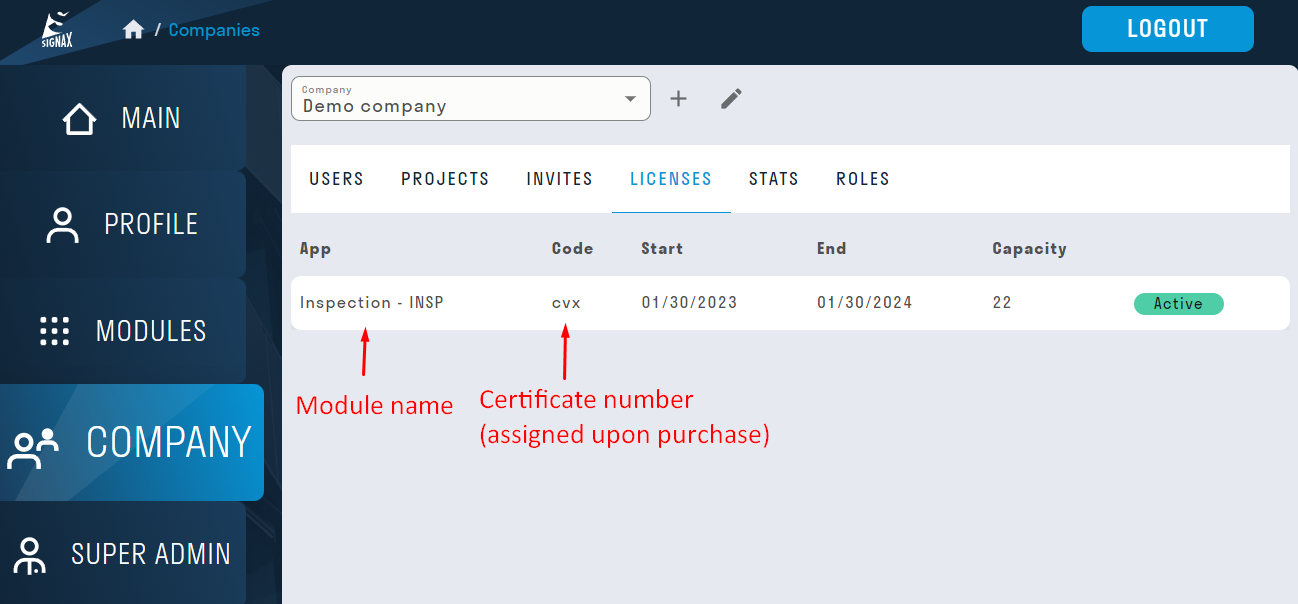
4.2. Wait for technical support to confirm that the Licenses are assigned. This will happen on the same day.
The number of issued Licenses can be seen in the "ADMIN" tab - Licenses.
- Assigning Licenses.
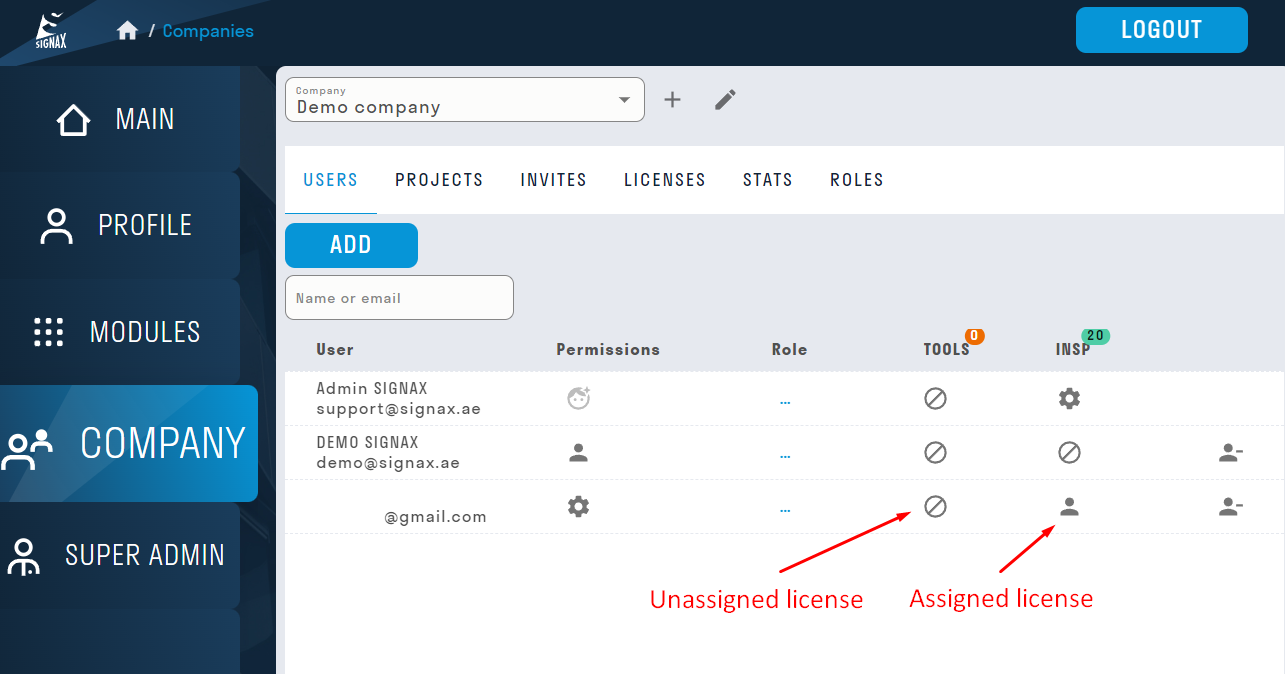
5.1. Go to the "ADMIN" tab - Users.
5.2. Click on the intersection of User - Application.
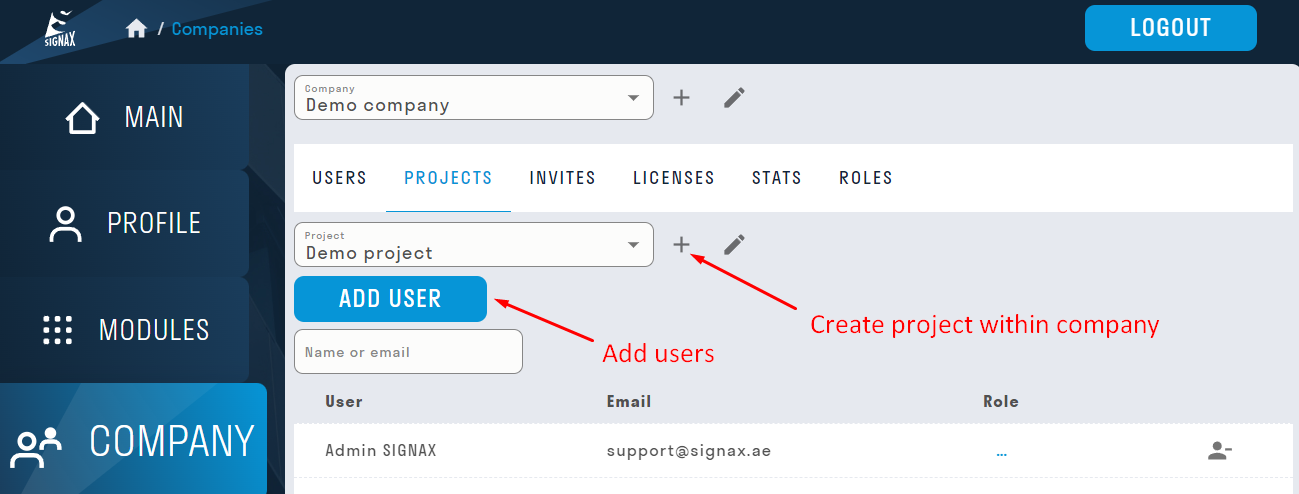
5.3. In the created Company, there may be several projects. You can add objects and assign users to them.
- Go to the "ADMIN" tab - Projects.
- Add the required number of Users.
No Comments