< TOOLS FOR NAVIS. Settings | TOOLS FOR NAVIS. Types of Work >
The SIGNAX panel allows you to collect information about an element or set of elements in one place, contains various auxiliary functions for convenient work with SIGNAX properties, attaching various documents to model elements, interacting with work types and quickly setting up the optimal view
Click on the SIGNAX tab in the Settings panel ➤ Panel

¶ SIGNAX Properties
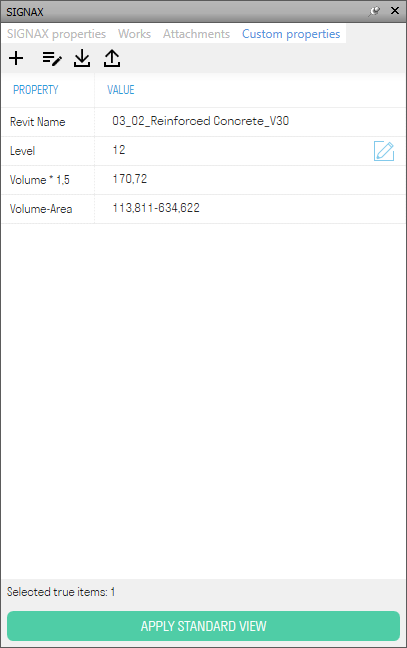
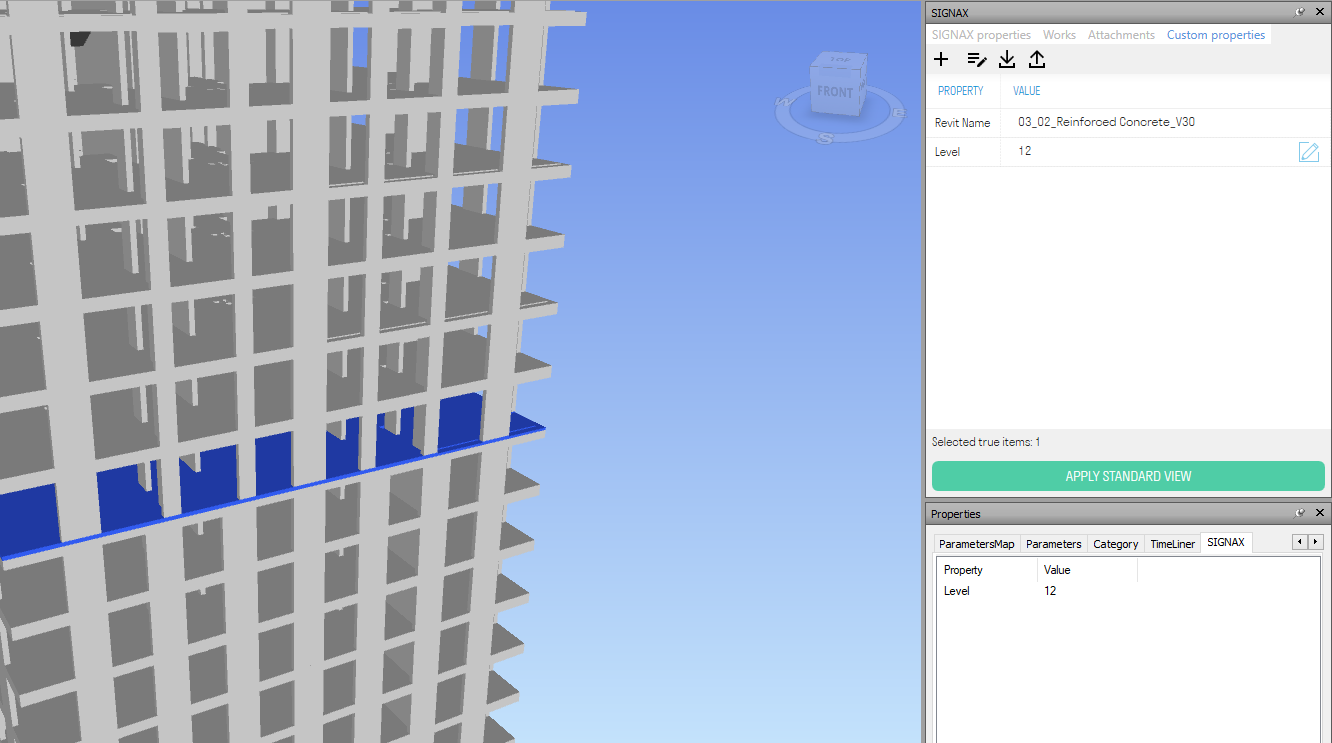
This tab displays all SIGNAX properties and their values, as well as the Quantitative Values (Volume/Area/Length/Weight) of the selected elements.

- The “APPLY STANDARD VIEW” button changes the viewport settings for more comfortable working with the model.
- The “Edit” button allows you to edit the property value of an element/elements.

This tab displays the settings for work types and favorite properties.
¶ Work Types
This setting allows you to add Work Types that will be specified when using the Complete/Accept/Schedule , KS-2 , Report , Budget tools. Prepare your own work type structure for use on the site. Work types are located in the SIGNAX panel, in the “Work” tab
Click on the panel Settings ➤ “Panel” ➤ “Work” tab
Folders and work types can be Add manually or Import a ready-made Excel file .
- Adding a new folder.
- Adding a new work type.
- The “Duplicate” button allows you to duplicate the selected folder or work type while preserving the values and conditions within the work types
- Importing work types from an Excel table.
- Importing work types from an XML file downloaded from Primavera. Import activity types from Primavera, mark activity completion, and export completion percentage using " Primavera Percentage ".
- Export activity types to an Excel spreadsheet.
- Clear the activity type list.
- Search set creation conditions. (See "Create Conditions" for more details)
- If the “Create only non-empty sets” switch is active, only those search sets that meet the PO creation conditions will be created. If the switch is inactive, search sets will be created for all activity types, even those whose creation conditions are filled in incorrectly. If the creation conditions are not filled in, the PO will not be created, regardless of the switch position.
You can create search sets of activity types using the “Work” tool, but you need to specify the conditions for creating the PE (see “Create Conditions” ):
¶ Import from Excel
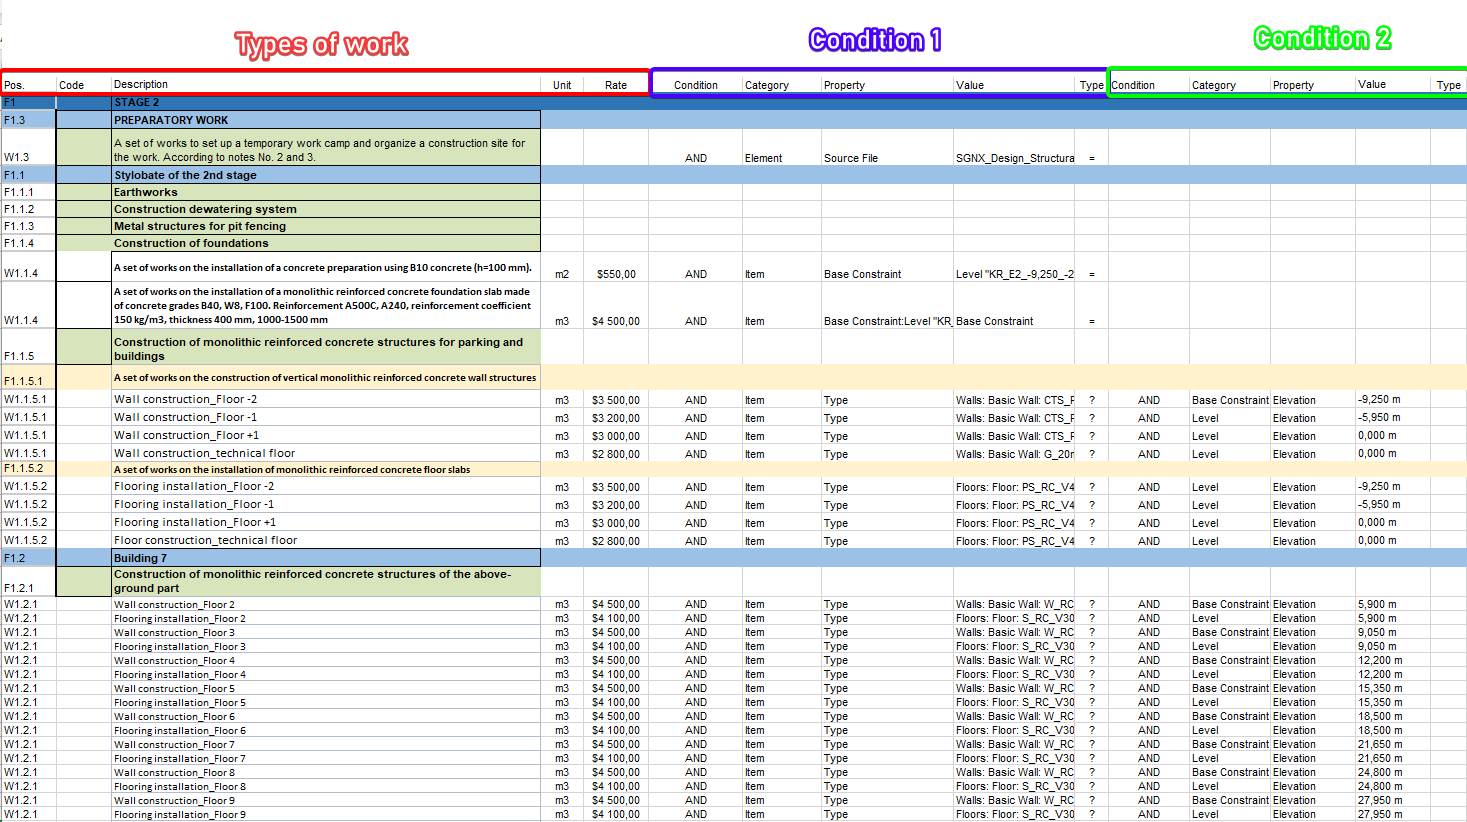
Types of work:
- The “Pos.” column contains a value in the format F1, F1.1, F2, F2.1, F2.1.1 or W1, W1.1, W1.2, W2.1.1, where F means that this line specifies a folder, and W creates a work type.
1.1, 2.1, 2.1.1 - specifies the nesting of folders, i.e. F2.1.1 will be nested in F2.1, and that in turn in F2.
W2.1.1 - means that the work type should be created inside the F2.1.1 folder
Attention! W2.1.1 can and should be repeated for all work types that are placed in one folder, i.e. it is not increased by the last digit - this is not a sequential number, but a pointer to the location of the work type.
- The “Code” column indicates the job code.
- The “Description” column indicates the name of the folder or type of work.
- The “Unit” column indicates the unit of measurement for the type of work (m/m2/m3/pcs/kg/t/set/%). Units of measurement are not specified for the folder.
- The “Rate” column indicates the price per unit of work.
Conditions for creating a PN:
- The “Condition” column specifies the condition AND.
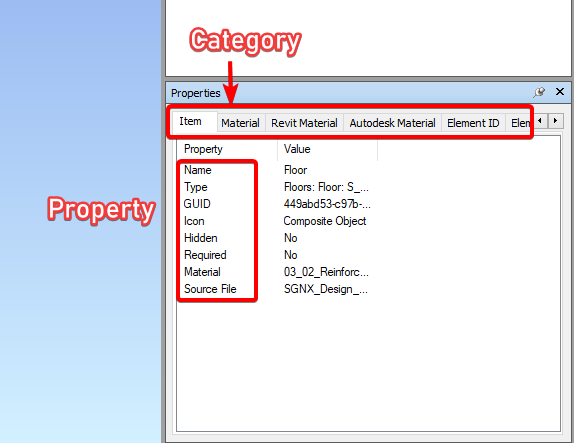
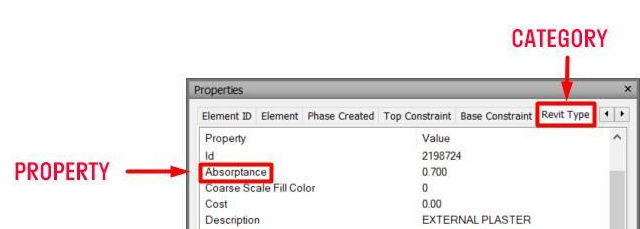
- The “Category” column specifies the name of the tab in which the property for the condition is located.
- The “Property” column specifies the property required for the condition.
- The “Value” column specifies the value of the property.
- The “Type” column specifies the operator (Equals: =), (Not equal: !=), (Contains: ?), (Does not contain: !?), (Defined: d), (Undefined: !d), (Greater than: >), (Greater than or equal to: >=), (Less than: ** <**), (Less than or equal to: <=).
Note: The “Condition”, “Category”, “Property”, “Value”, and “Type” columns specify one additional condition by which search sets will be created. Specify these columns as many times as there are additional conditions you want to add.
This setting collects favorite properties in one place that help in creating conditions for activity types and can be uploaded to BIM-Link to simplify finding only the properties you need.

1. Click

to add a favorite property.
2. A window with the project properties will open. Select the required properties and click “OK”

- Start typing a value in the “SEARCH” field ➤ the list will show properties containing the entered value. The left column is “Category”, the right one is “Property”.
3. The selected properties will be added to the list of favorite properties. When you select an element, the value of the property of the selected element will appear in the “Value” column. Using selected properties, you can create conditions for types of work (See Create conditions)
This tab displays folders and files attached to elements.
To attach local files and folders from your computer, in the “Documents” settings, specify the path to the root folder with documents.

- The “Go to Web Document” button allows you to open a link to a web page attached to an element.
- The “Open File” button allows you to open an attached local file or folder
- The “Open Folder” button allows you to open an attached local folder.
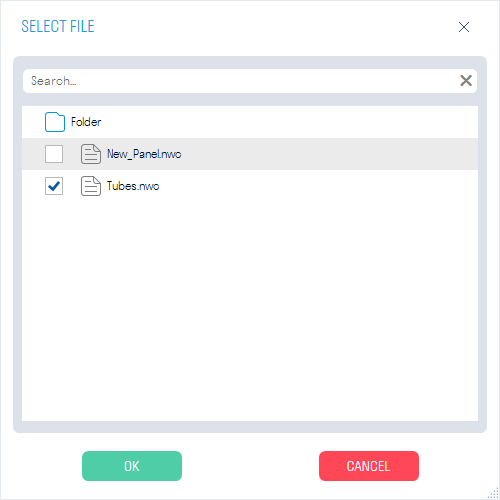
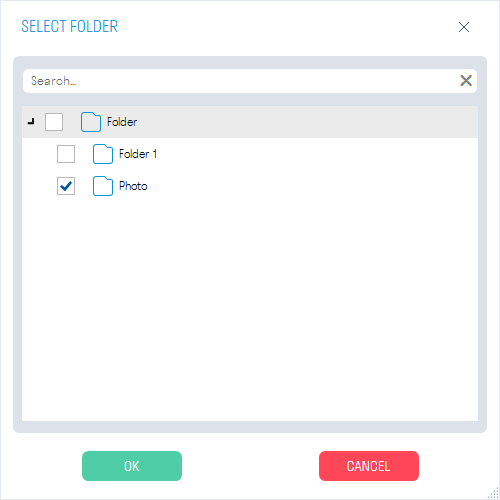
- Select an item and click to attach a local file. A window with folders and files will open. Check the box next to the file or files and click “OK”. The files will be attached to the selected items.
- Select an item and click to attach a local folder. A window with folders will open. Check the box next to the folder or folders and click “OK”. The folders will be attached to the selected items.
.
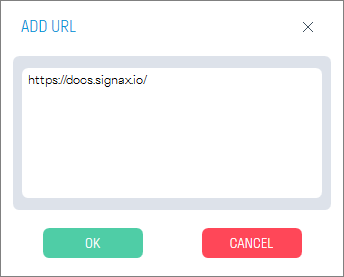
- Select an item and click to attach a link to a web page. Enter the link and click OK.
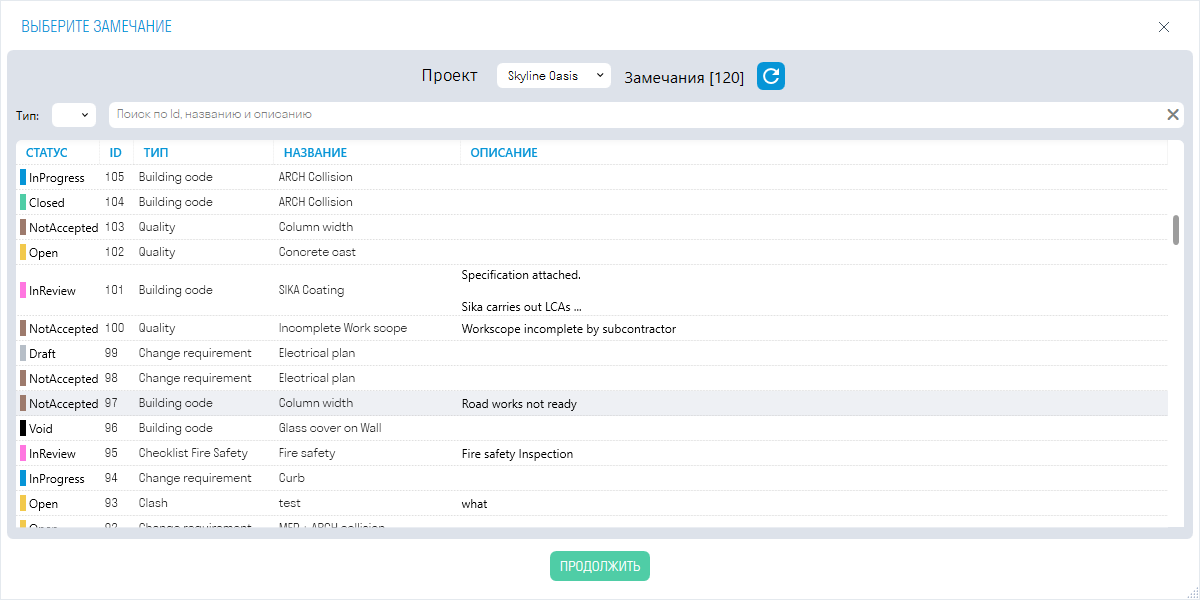
- Select an item and click to attach a remark from DOCS. The register of remarks of the selected project will open in the “Main” tab. Select a remark and click “Continue”. The remark will be attached to the item, the color of the item will change in accordance with the setting “Coloring”
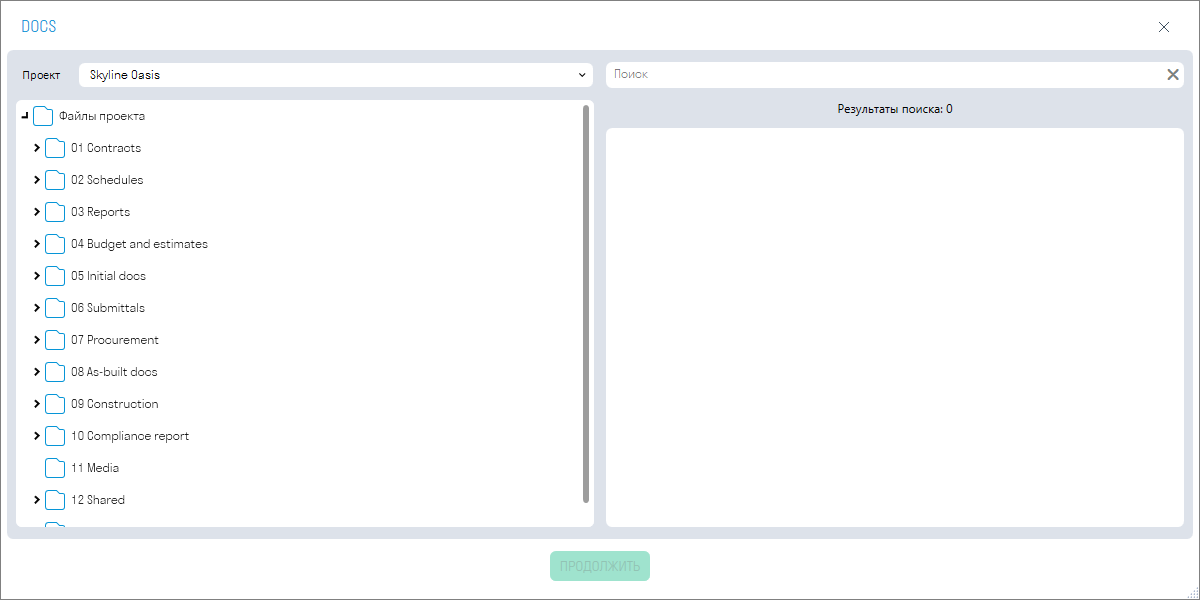
- Select an item and click to attach a folder or document from DOCS. The folder structure of the selected project will open in the “Main” tab. Select a folder or file and click “Continue”
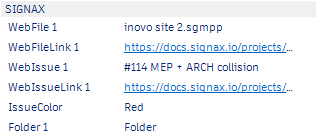
All attachments attached to an item are written to the item’s properties:
This tab displays custom properties and their values. There are 4 types of custom properties: Calculated, Editable, Quantity with Factor, and Multi-Calculated.
- Click to add one of the four custom properties.
Calculated Property
This property is used to display any existing properties in the model in the SIGNAX panel.
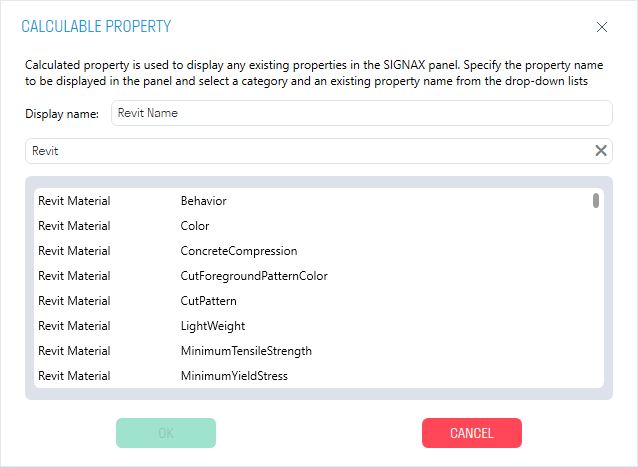
- Select the required property from the list and click "OK". To simplify finding the required properties, use the search. You can change the display name of the selected property in the SIGNAX panel.
Editable Property
You can enter any user-editable value in this property.
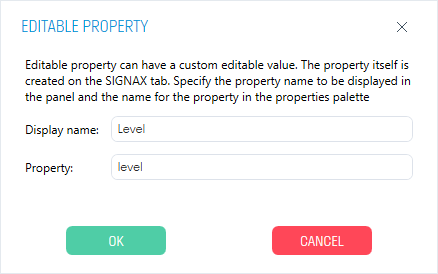
- In the “Display name” line specify the property name in the SIGNAX Panel
- In the “Property” line specify the property name that will be displayed in the SIGNAX tab. The name must consist of Latin letters.
- Click to enter a value in the property.
Quantity with coefficient
This property allows you to display the total value of one of the quantitative properties (Volume/Area/Length/Weight) with the specified coefficient in the panel.
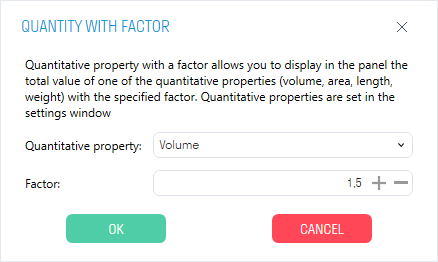
- Select a quantitative property from the drop-down list, specify a coefficient and click “OK”
Multi-calculated property
This property allows you to display several properties existing in the model in the SIGNAX panel, separated by the specified separator.
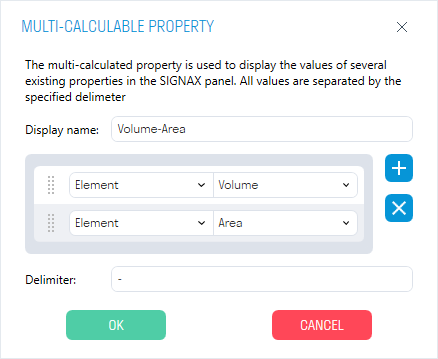
- In the “Display name” line, specify the name of the property in the SIGNAX panel
- Click to add properties. Select the “Category-Property” pair from the drop-down lists.
- In the “Separator” line, specify the value for the separator between properties, for example, a hyphen “-”
< TOOLS FOR NAVIS. Settings | TOOLS FOR NAVIS. Types of Work >